Building my own router
Table of Contents
I’ve been wanting to build my own router, as there are so many benefits.
From self-hosting my own DNS server, whole-home ad-blocking, hosting my own VPN, and more, the possibilities are endless. I’ve kind of procrastinated this project for a while, but the catalyst for doing it now was our home upgrade to fiber internet.
When our new ISP arrived, their DHCP range was completely different than mine, which knocked my entire HomeLab offline. This was right before my trip to DEFCON, so I couldn’t spend any time reassigning my IP addresses.
The fact my settings were stored on the previous ISP’s device has always bothered me, and it’s mostly my fault for not preparing for the transition.
To prevent this from happening again, I bit the bullet on building the router. My big problem, though, was I didn’t exactly know what to pick for hardware. I wanted something low-profile, quiet, and powerful enough to handle anything I threw at it.
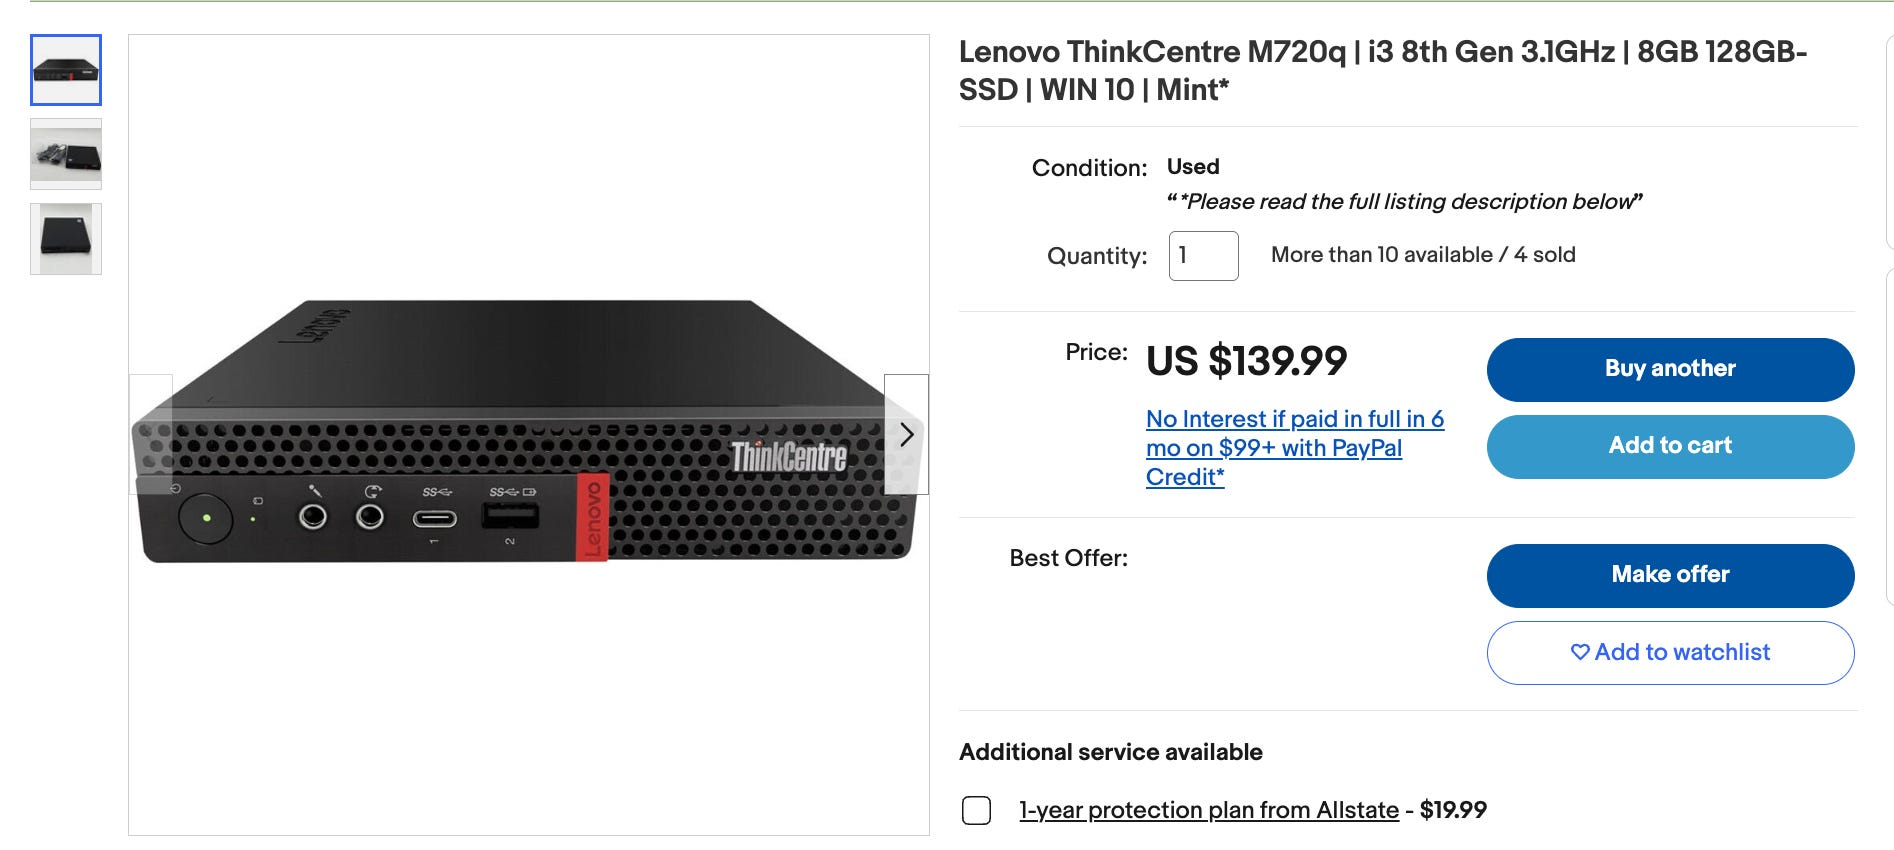
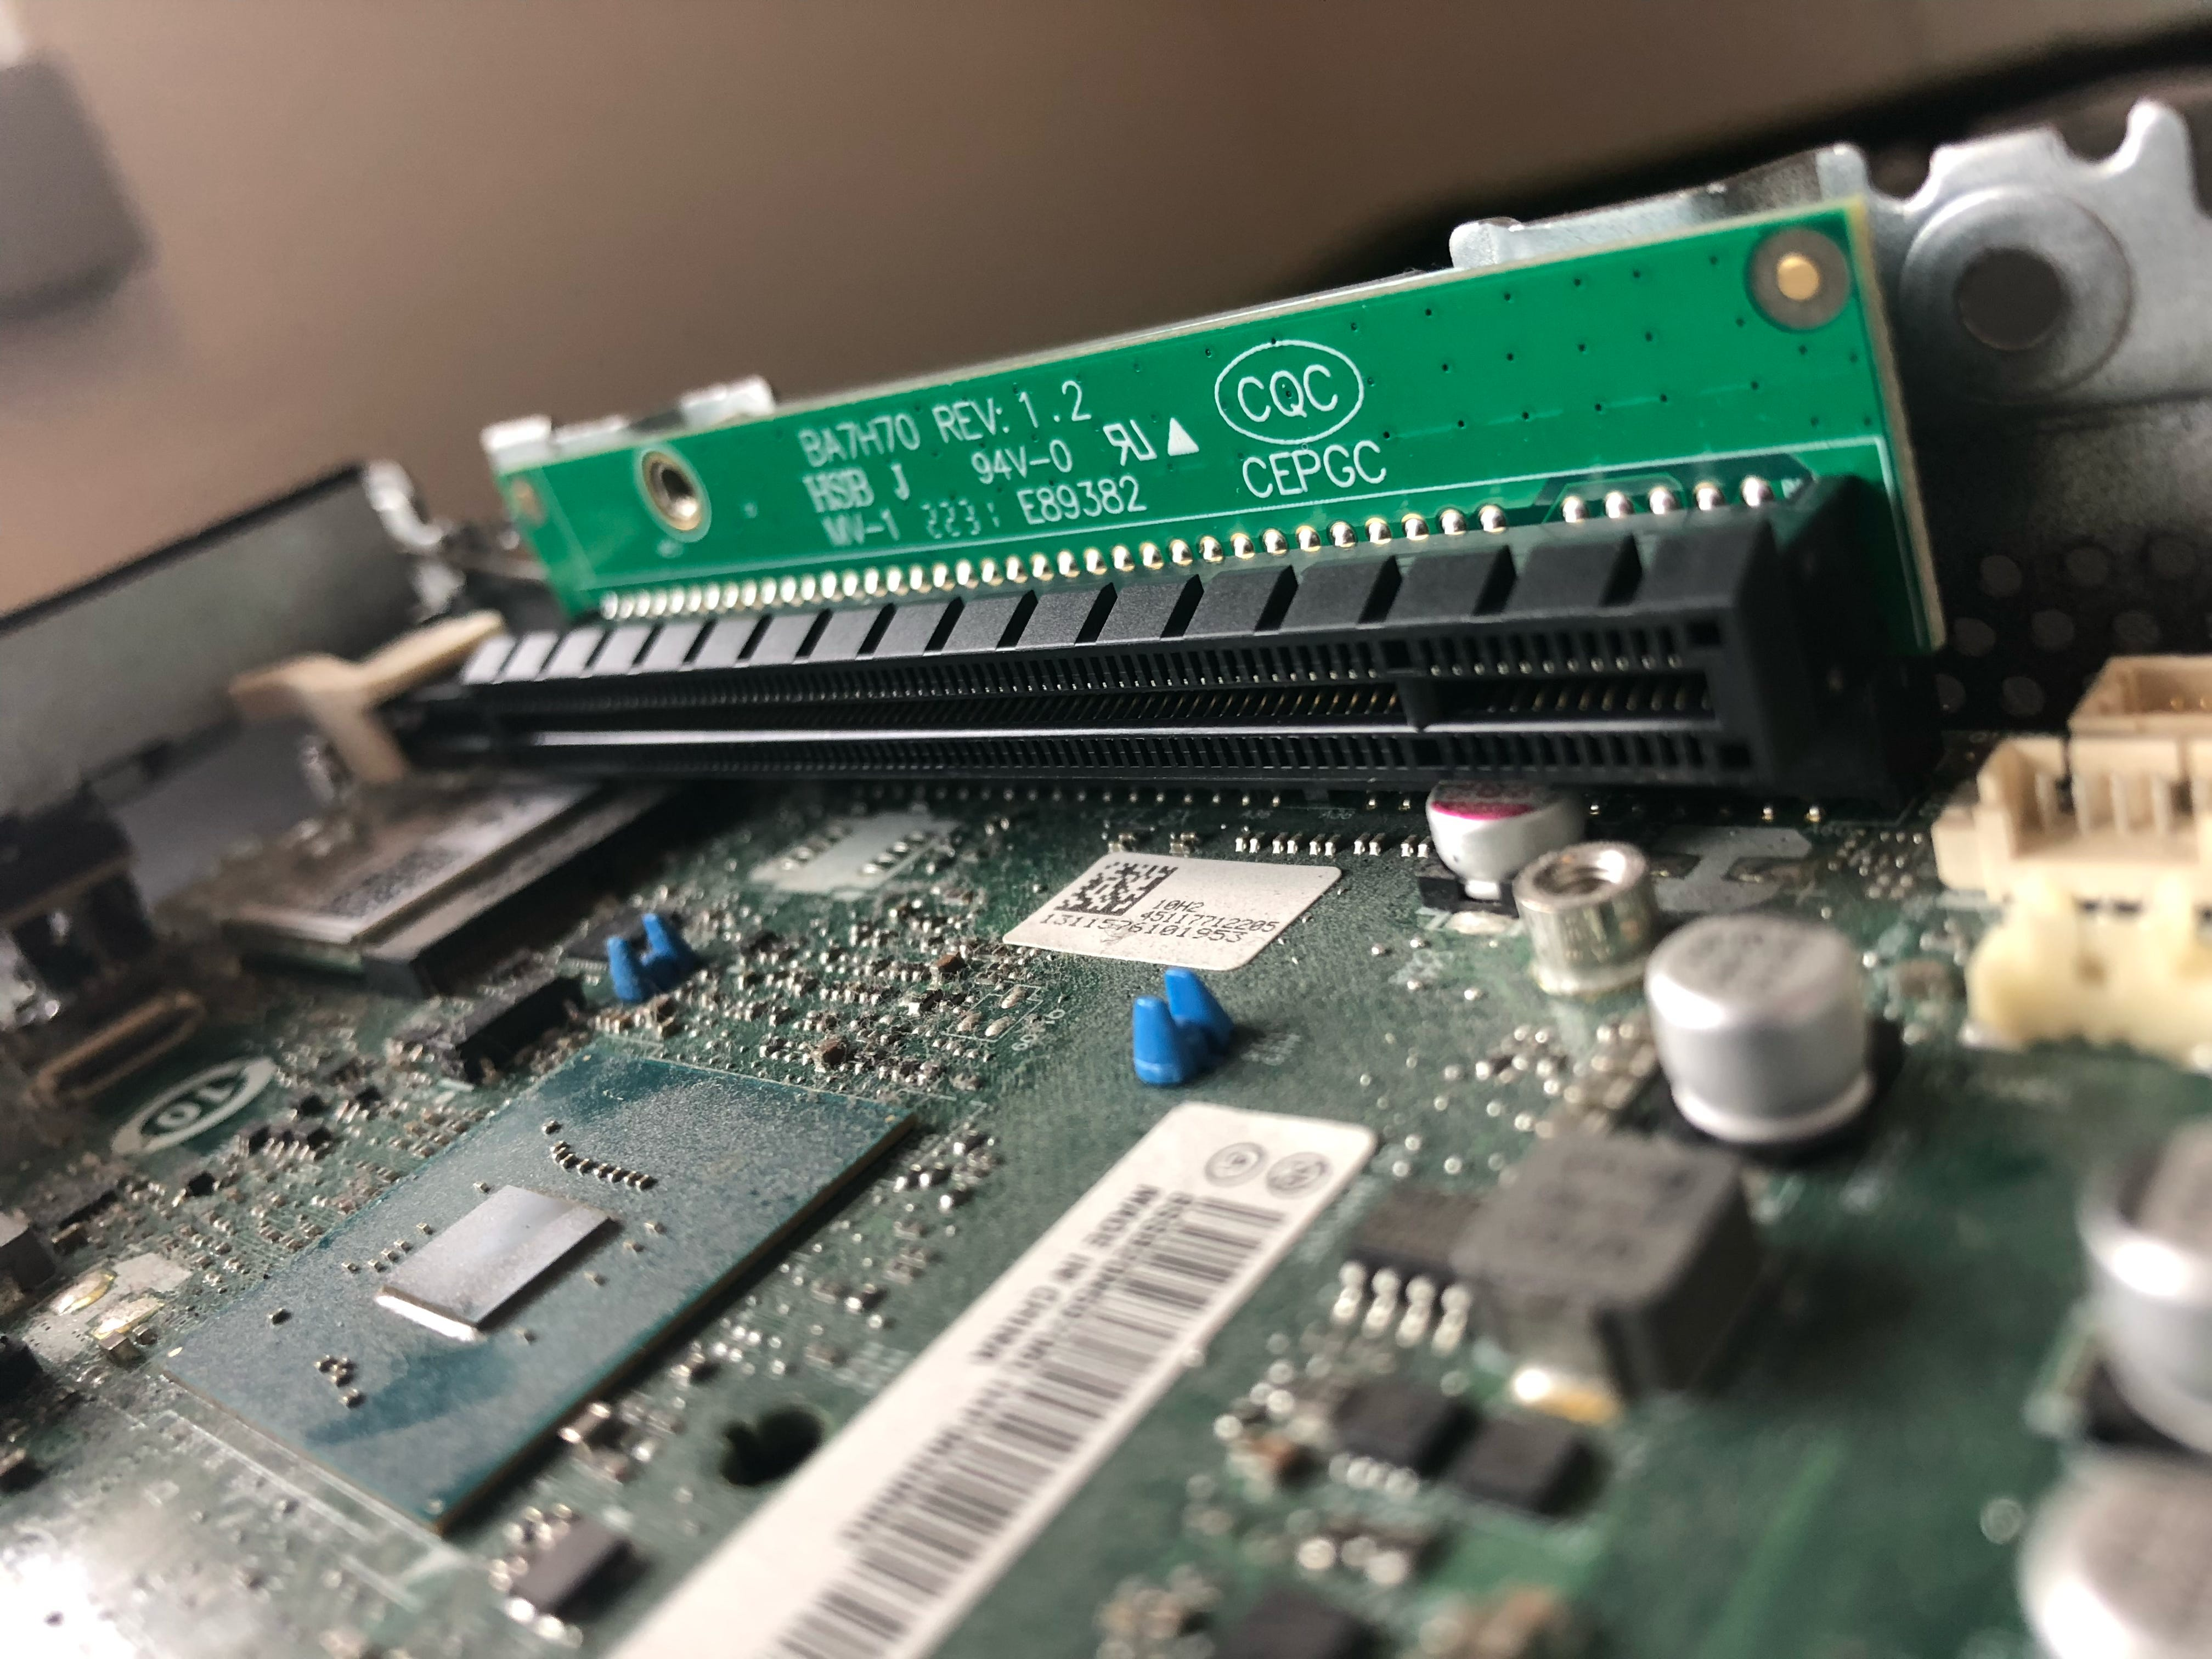
I found out about Lenovo’s ThinkCentre m720q, a tiny, low-powered x86 thin client desktop that has a dedicated PCIe slot, socketed CPU, and can fit a desktop network card with the help of a proprietary riser.
After seeing this article, I knew this was exactly what I needed, and recently scored a great deal on eBay for $119! I also picked up a dual-port 2.5gb NIC as well as the necessary riser card.
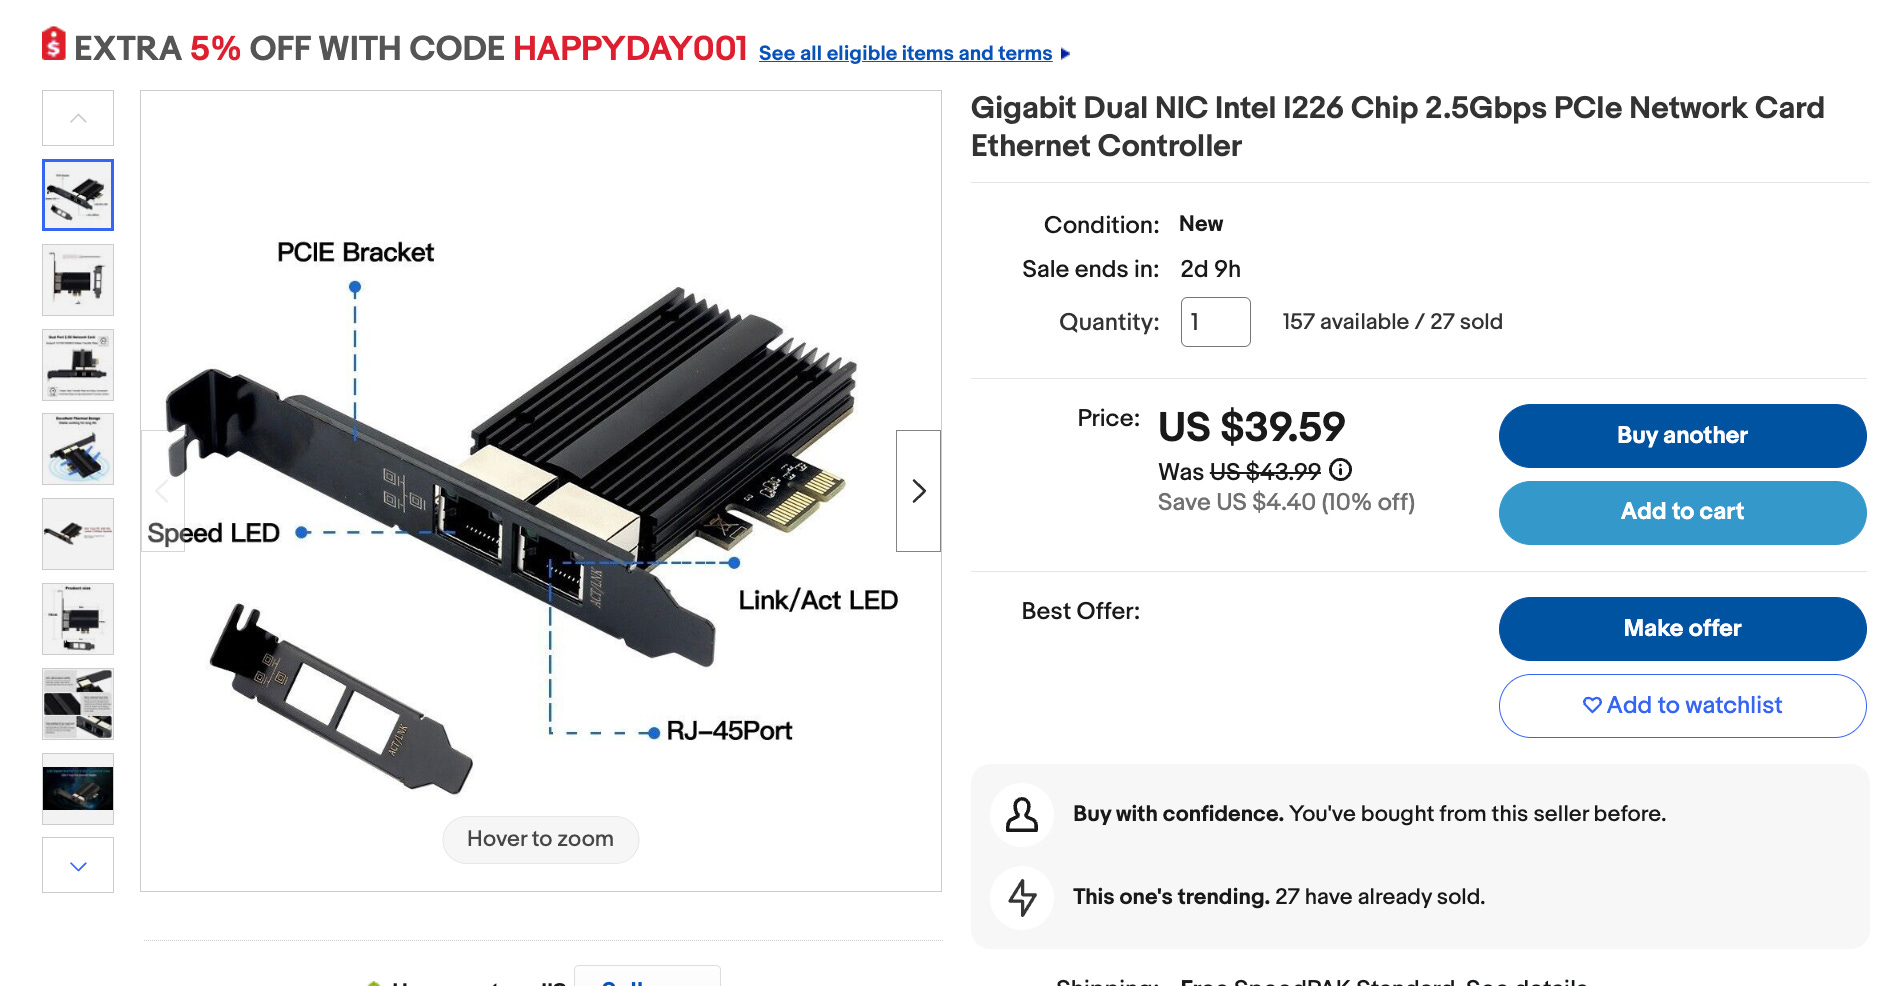
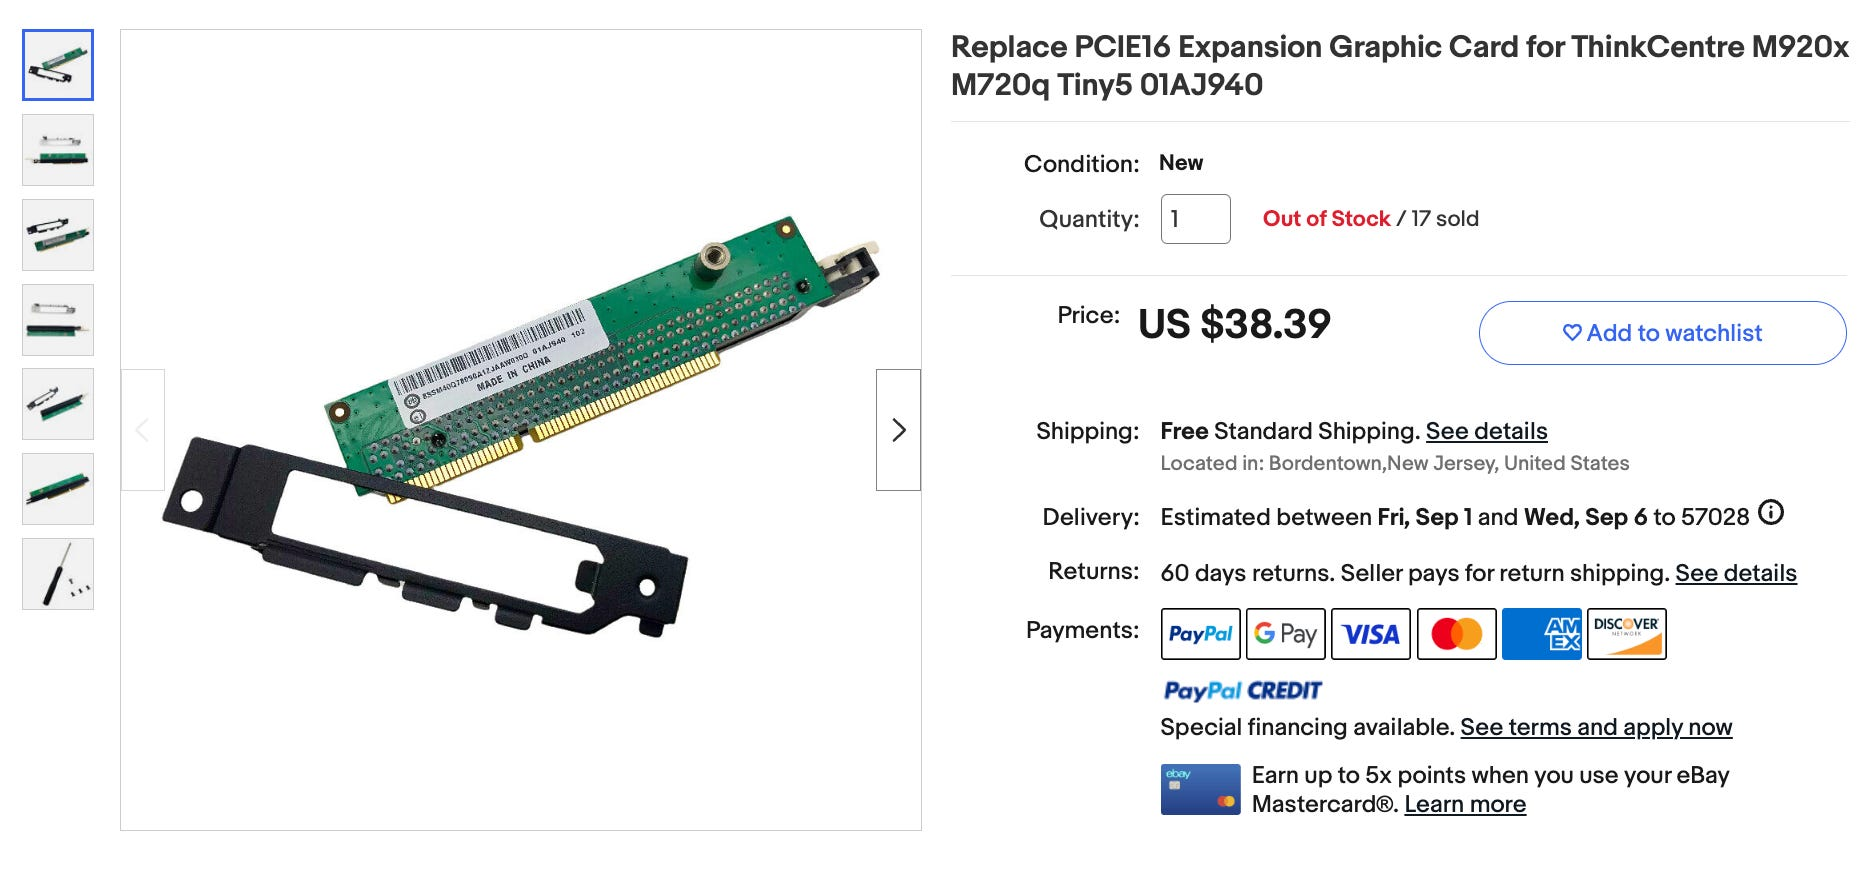
For under $200, having a fully customizable and upgradable router is a fantastic deal in my opinion. Within a few weeks, all of the components arrived, and after verifying everything worked, the router was ready for assembly!
I was blown away by how accessible the hardware inside the small enclosure is. With the removal of a single screw on the back, the system disassembles with no additional work, and everything is phenomenally easy to exchange if needed.
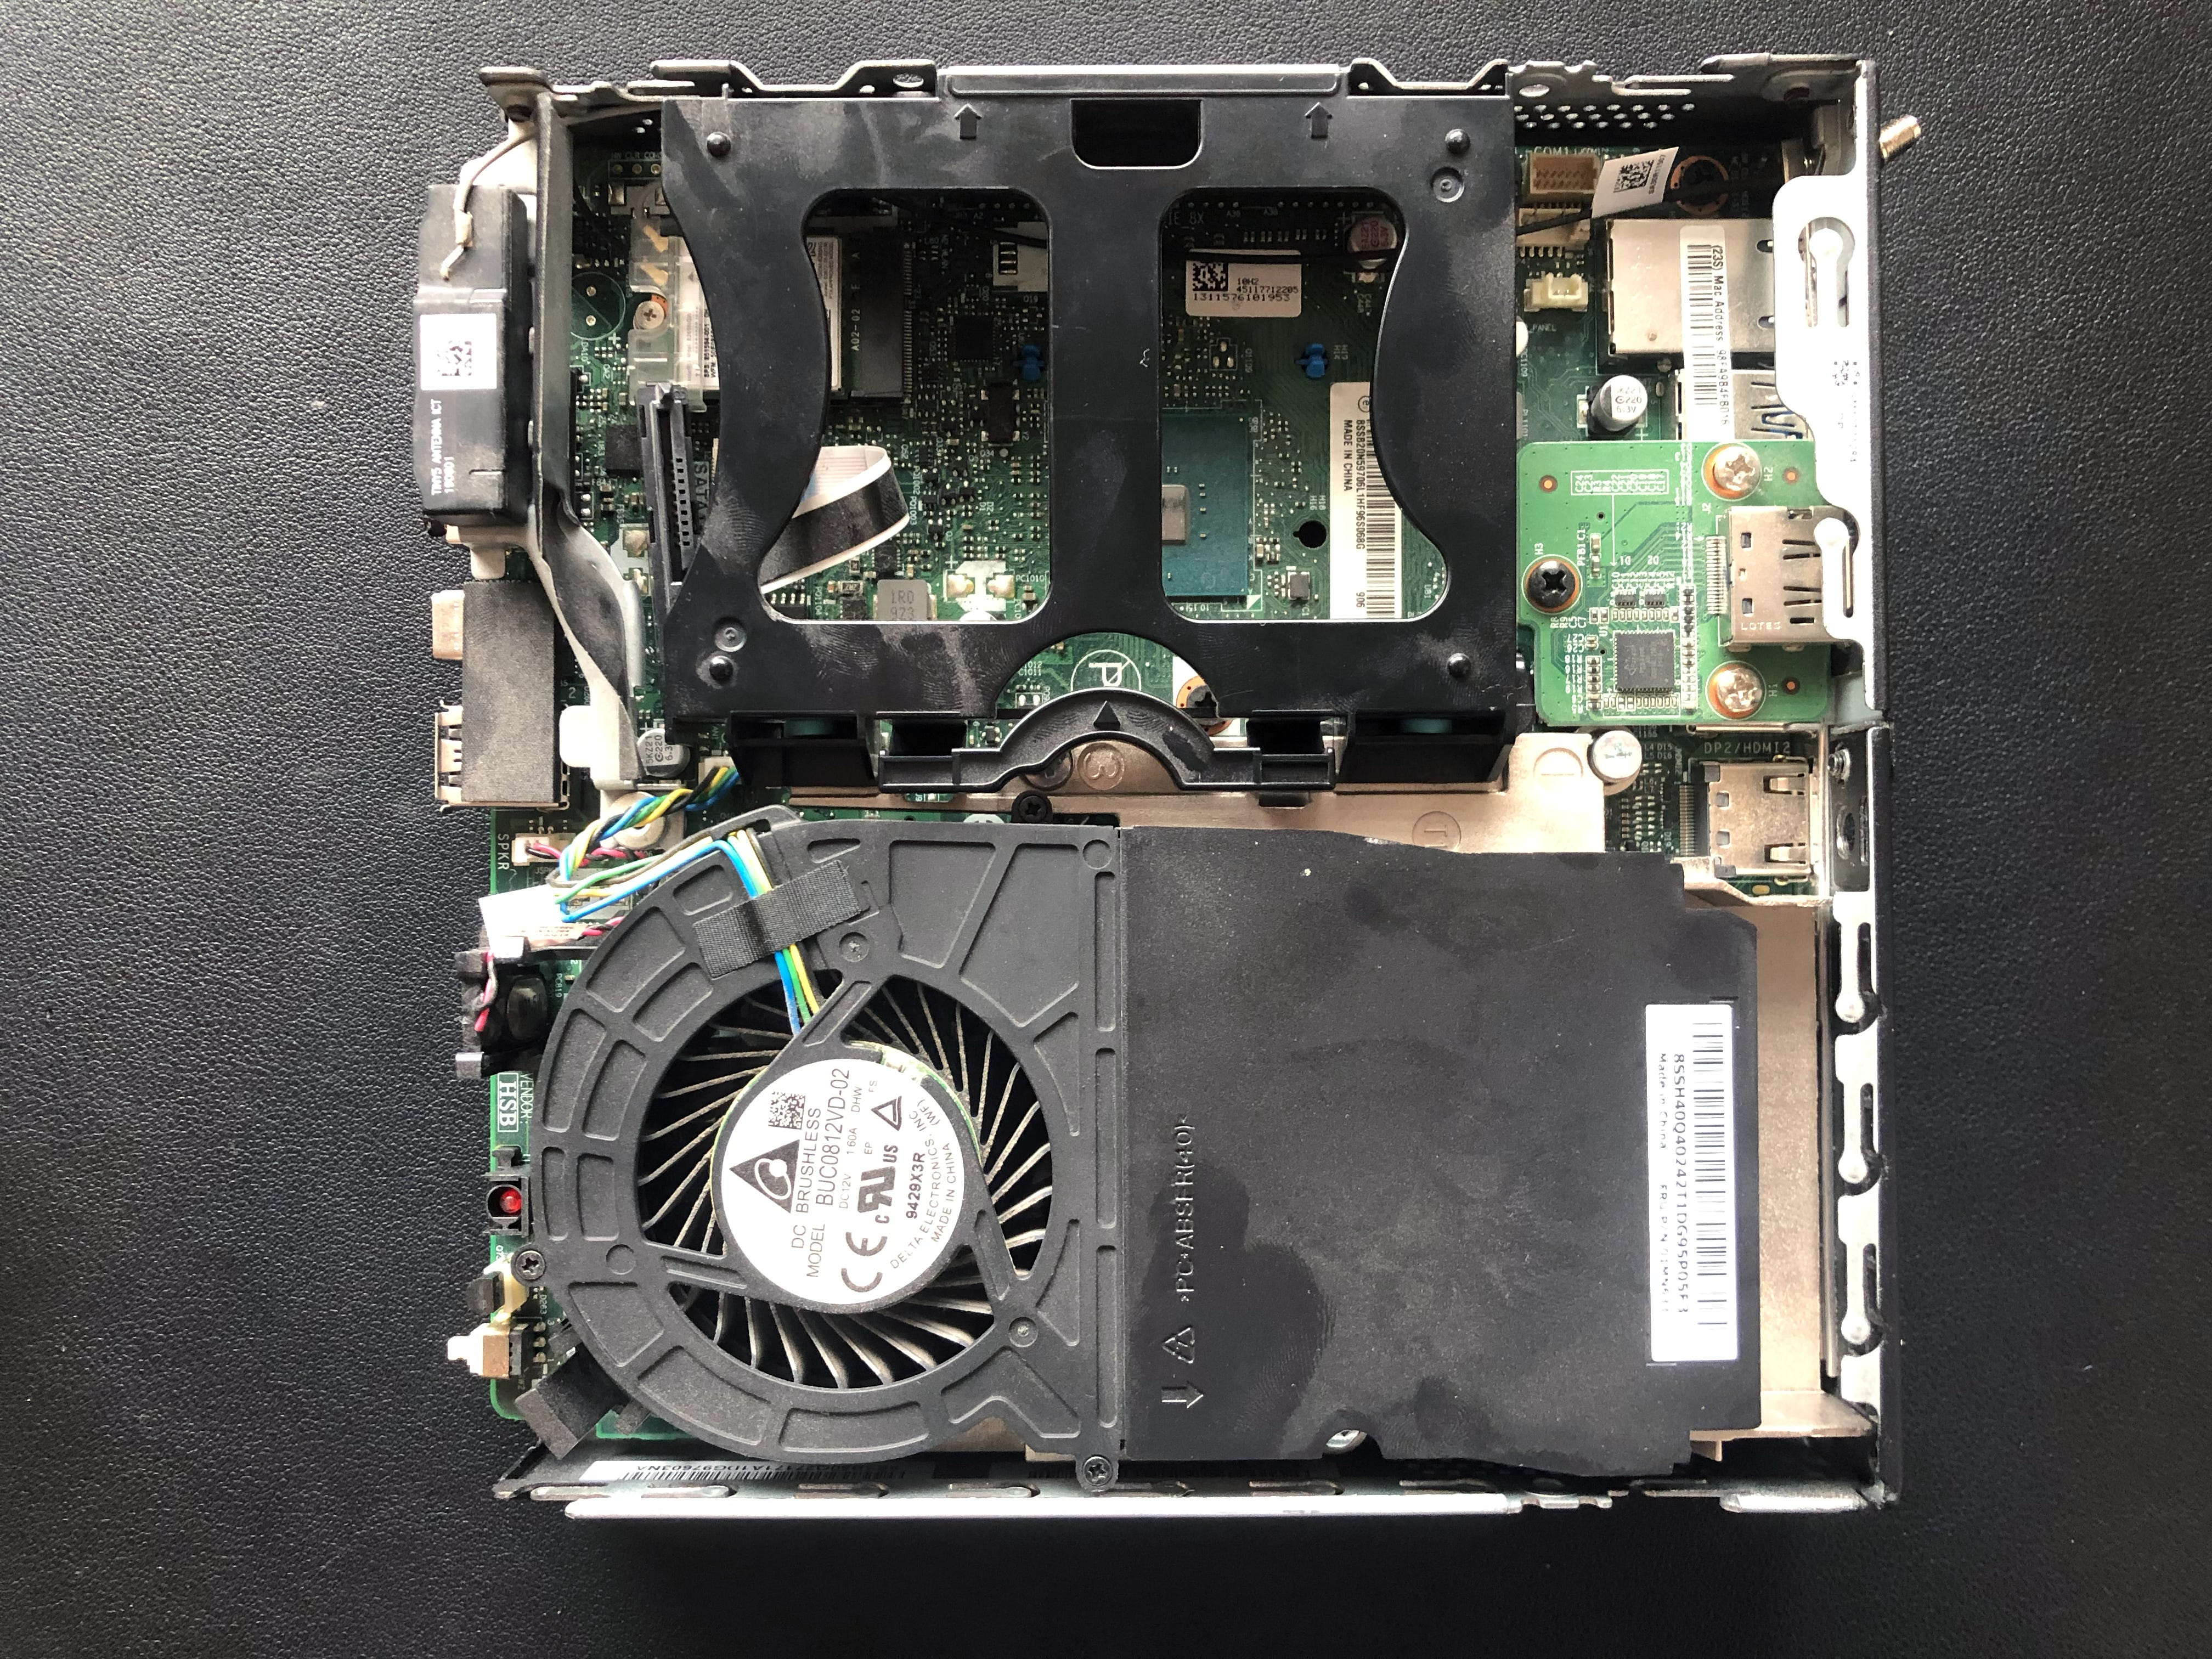
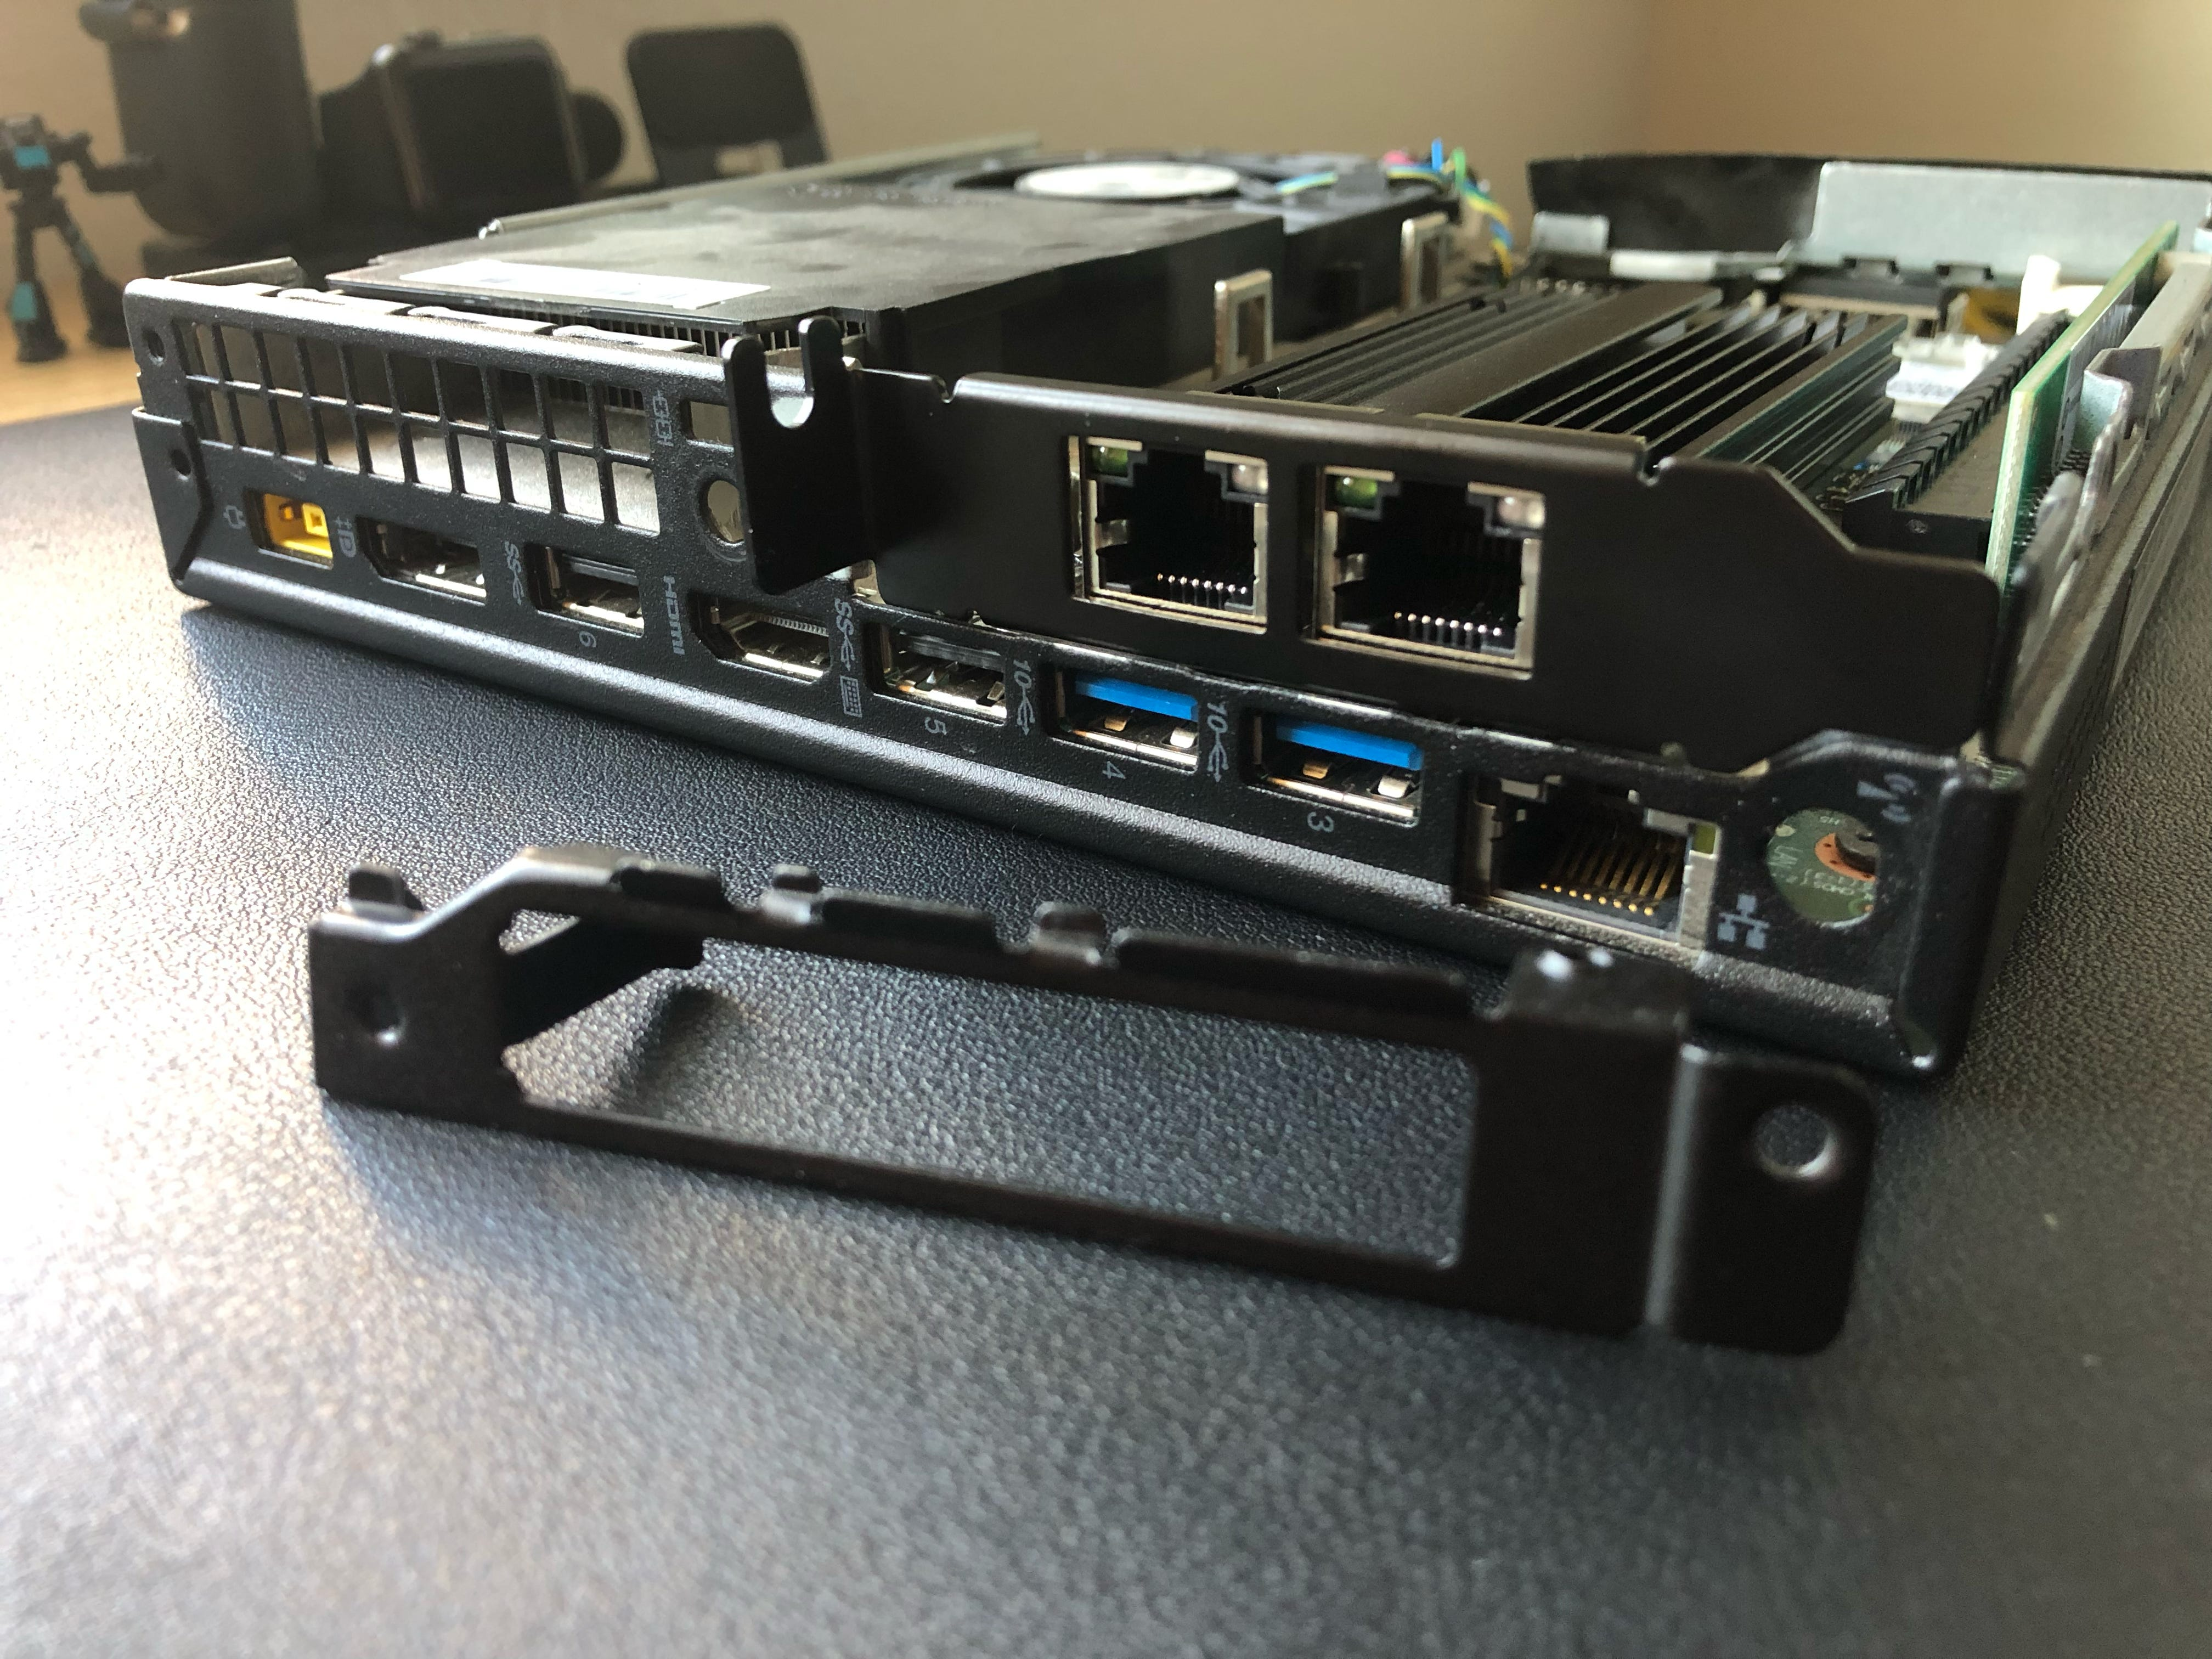
Before installing the riser card, I exchanged the included M.2 drive for my own and removed the 2.5’ drive bracket, the SATA connector, the DisplayPort connector, the rear bracket, and the Wi-Fi antenna. The installation of the riser card was a little tight, but fit great with some work.
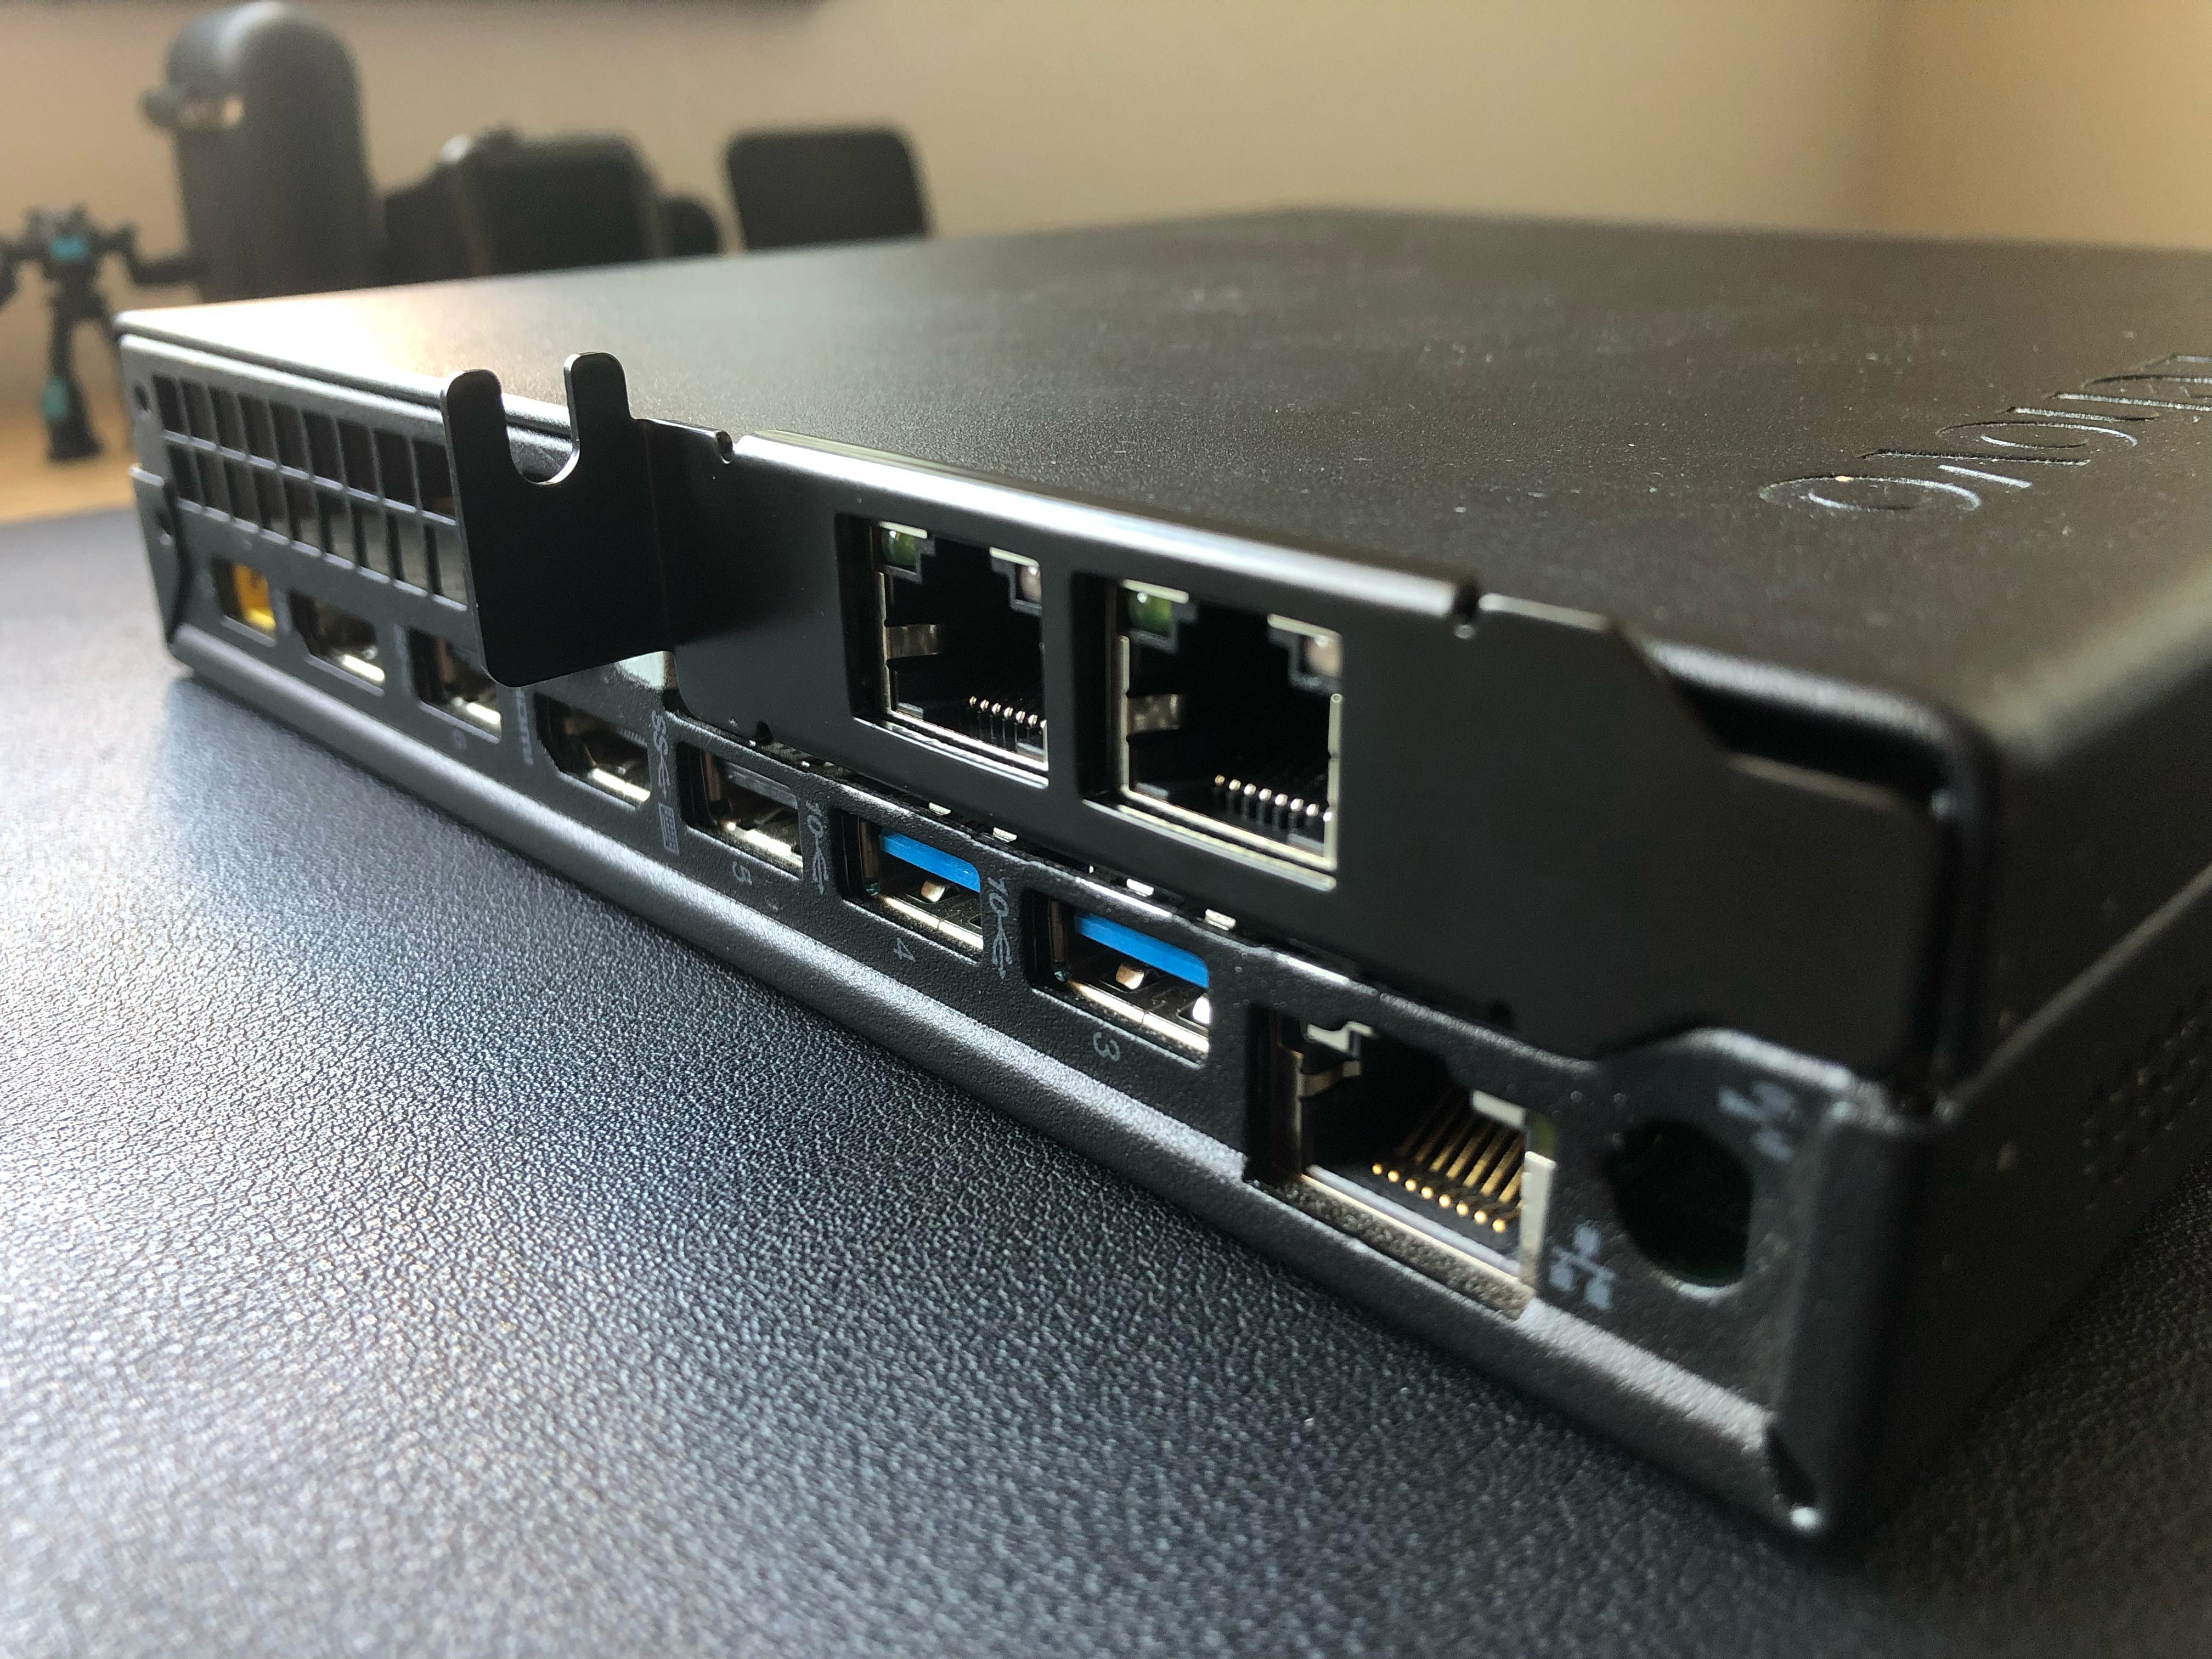
Because the NIC I selected is pretty small, I realized I didn’t need the included bracket for the ThinkCentre. It took me a bit to figure out, but the NIC’s installation with its included bracket worked perfectly. Closing the top case did require wedging it a tiny bit, but it fits perfectly!
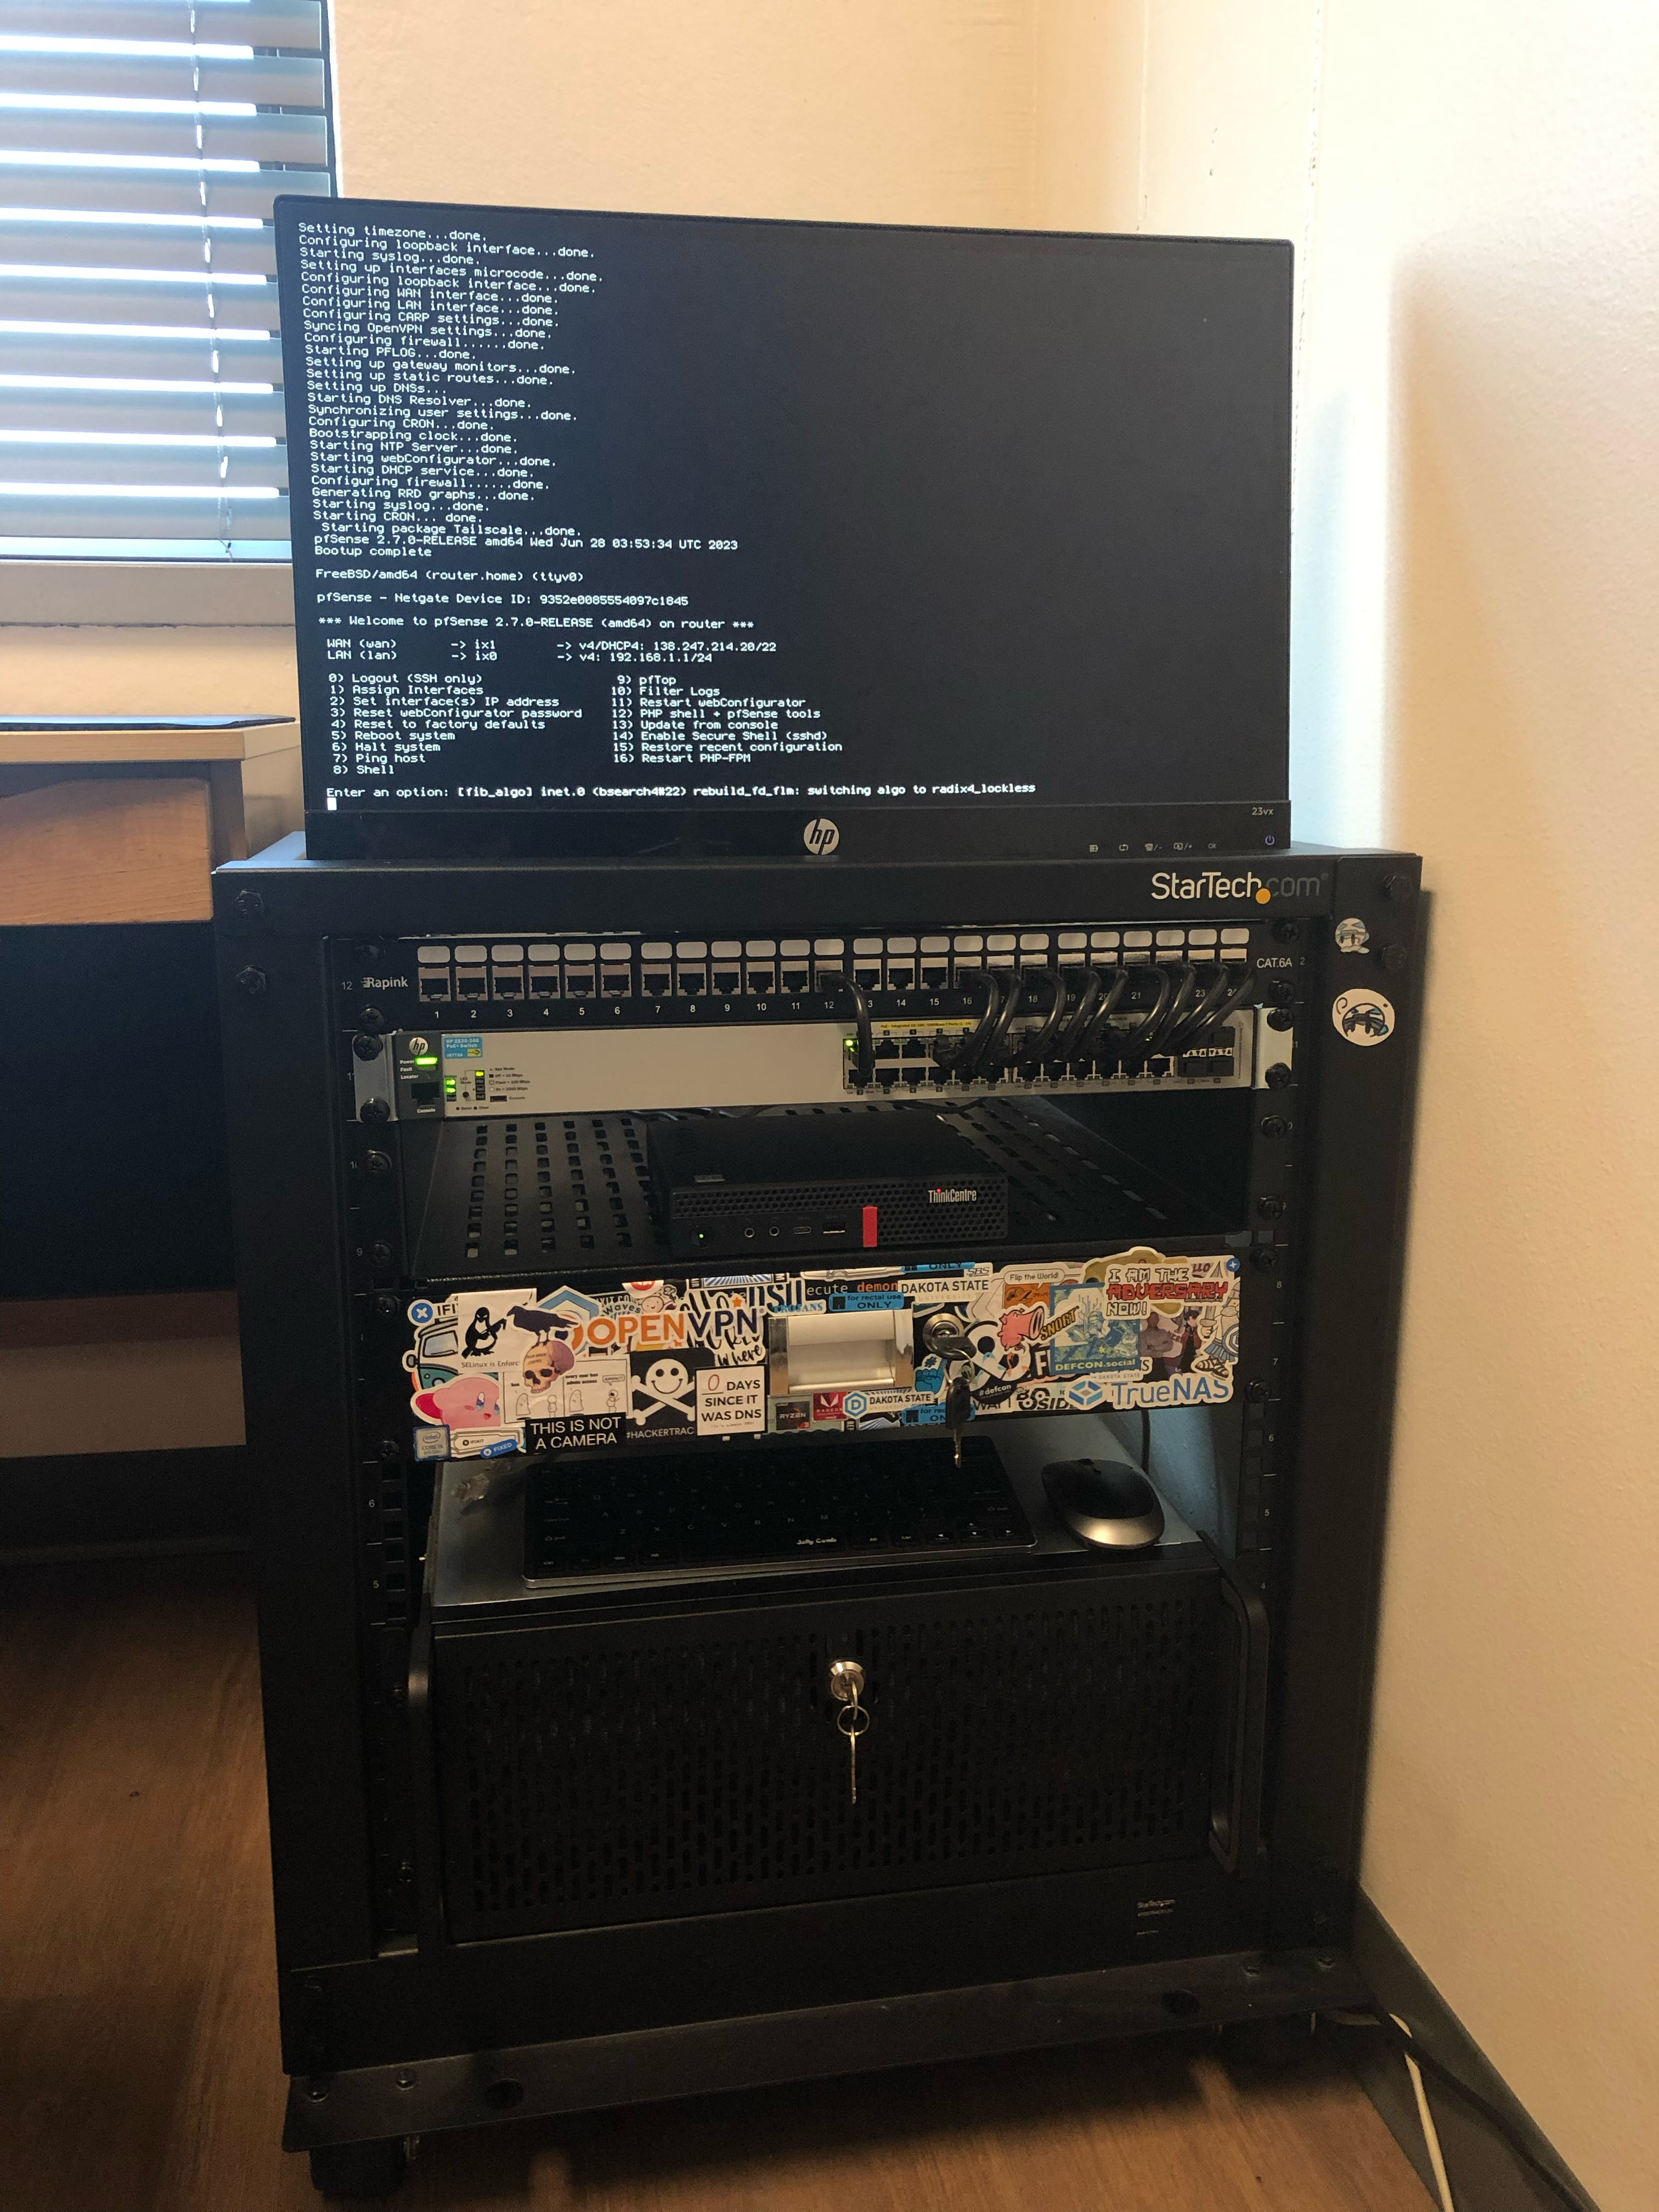
After getting it installed, setting up Pfsense was an absolute breeze. I was shocked by how easy it was, and so far, the only additional thing I’ve done is install Tailscale for accessing routes, and as a VPN exit node.
These past few days, I’ve been able to access my Proxmox, TrueNAS, and virtual machines once again which has been super great. I’ve gone so long with everything powered off, and it’s really nice to have my HomeLab back to a normal state.
Better yet, I’ve moved the server into my dorm room, so I have my own isolated network here on campus! What’s more relieving is, no matter where I move this network, all of my addresses, static and dynamic, will remain unaffected.
I have plans to set up my own DNS instance, set up a PiHole, and more, which I will certainly cover once I start these projects!