Repairing a $39 Framework motherboard
Table of Contents
Framework mystery boxes
Framework, a company focused on manufacturing repairable and modular devices, offers a cool product called a mystery box. These mystery boxes contain various components that have been returned from their service centers, and instead of wasting the hardware, Framework instead puts together random assortments and sells them to the community for fun!
I’ve always wanted to get one, and about a week ago, I got an email saying that the Framework mystery boxes are now back in stock. I quickly jumped to the listing, only to see a new and interesting listing, being a mainboard mystery box.
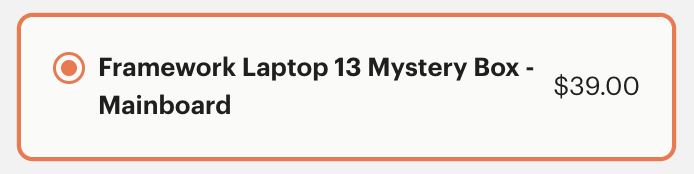
The large mystery box was already sold out, so I figured I’d pick up a mainboard mystery box and see what happens! I placed my order on September 18, 2025, and the unit arrived on September 24, 2025. The total with shipping and taxes came up to $50.98, which I thought was fairly reasonable!
Initial inspection
When the board arrived, I was curious about what generation and platform I had received. The first thing that stuck out was the DDR4 SODIMM slots, which likely means this is an 11th gen Intel motherboard.
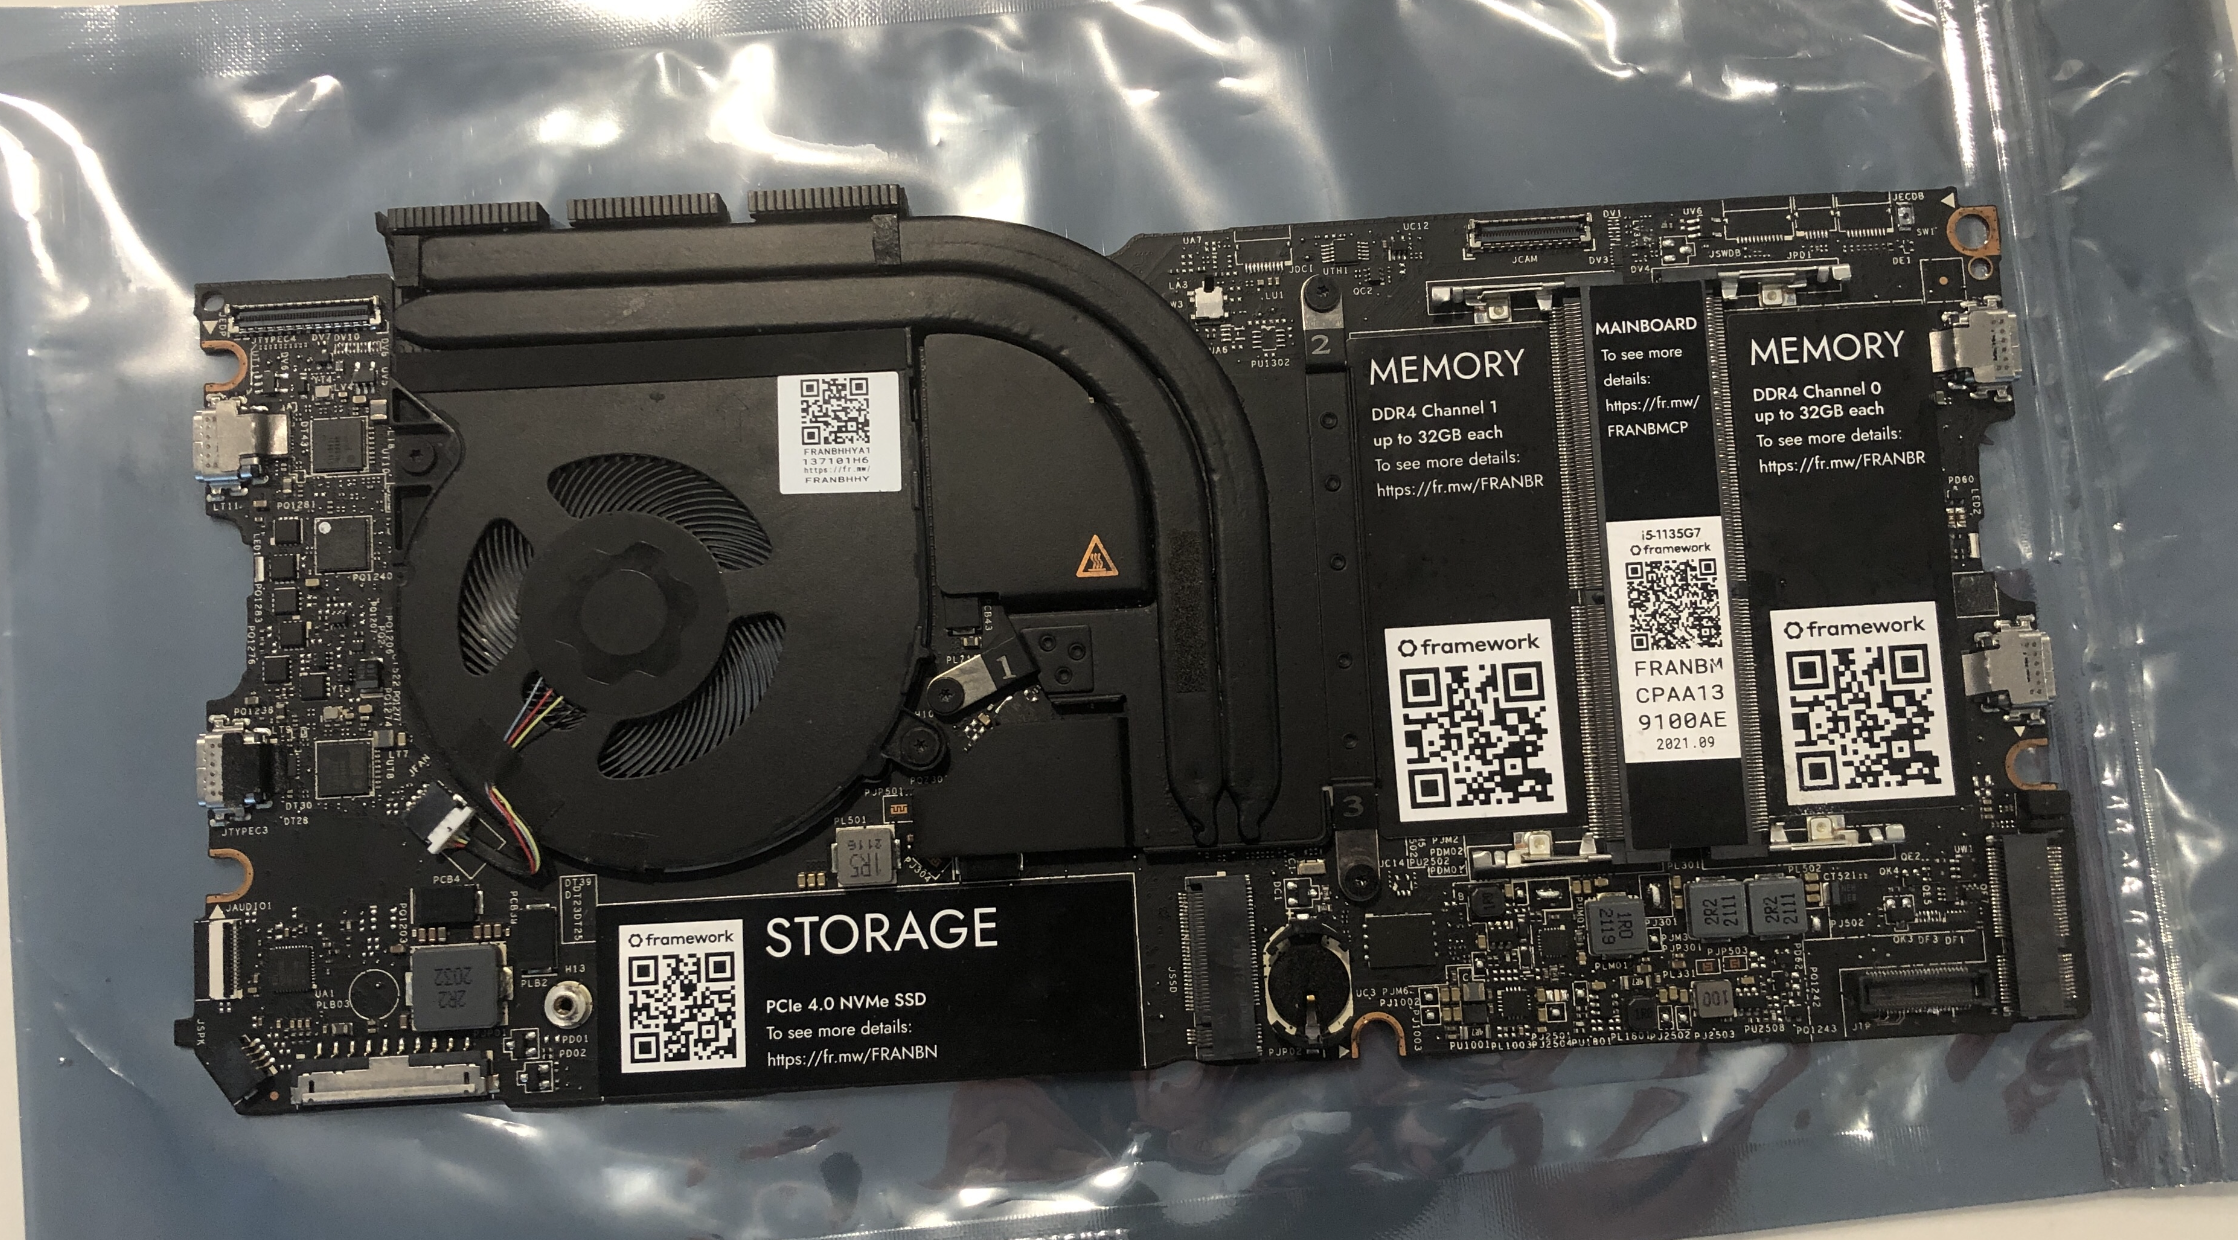
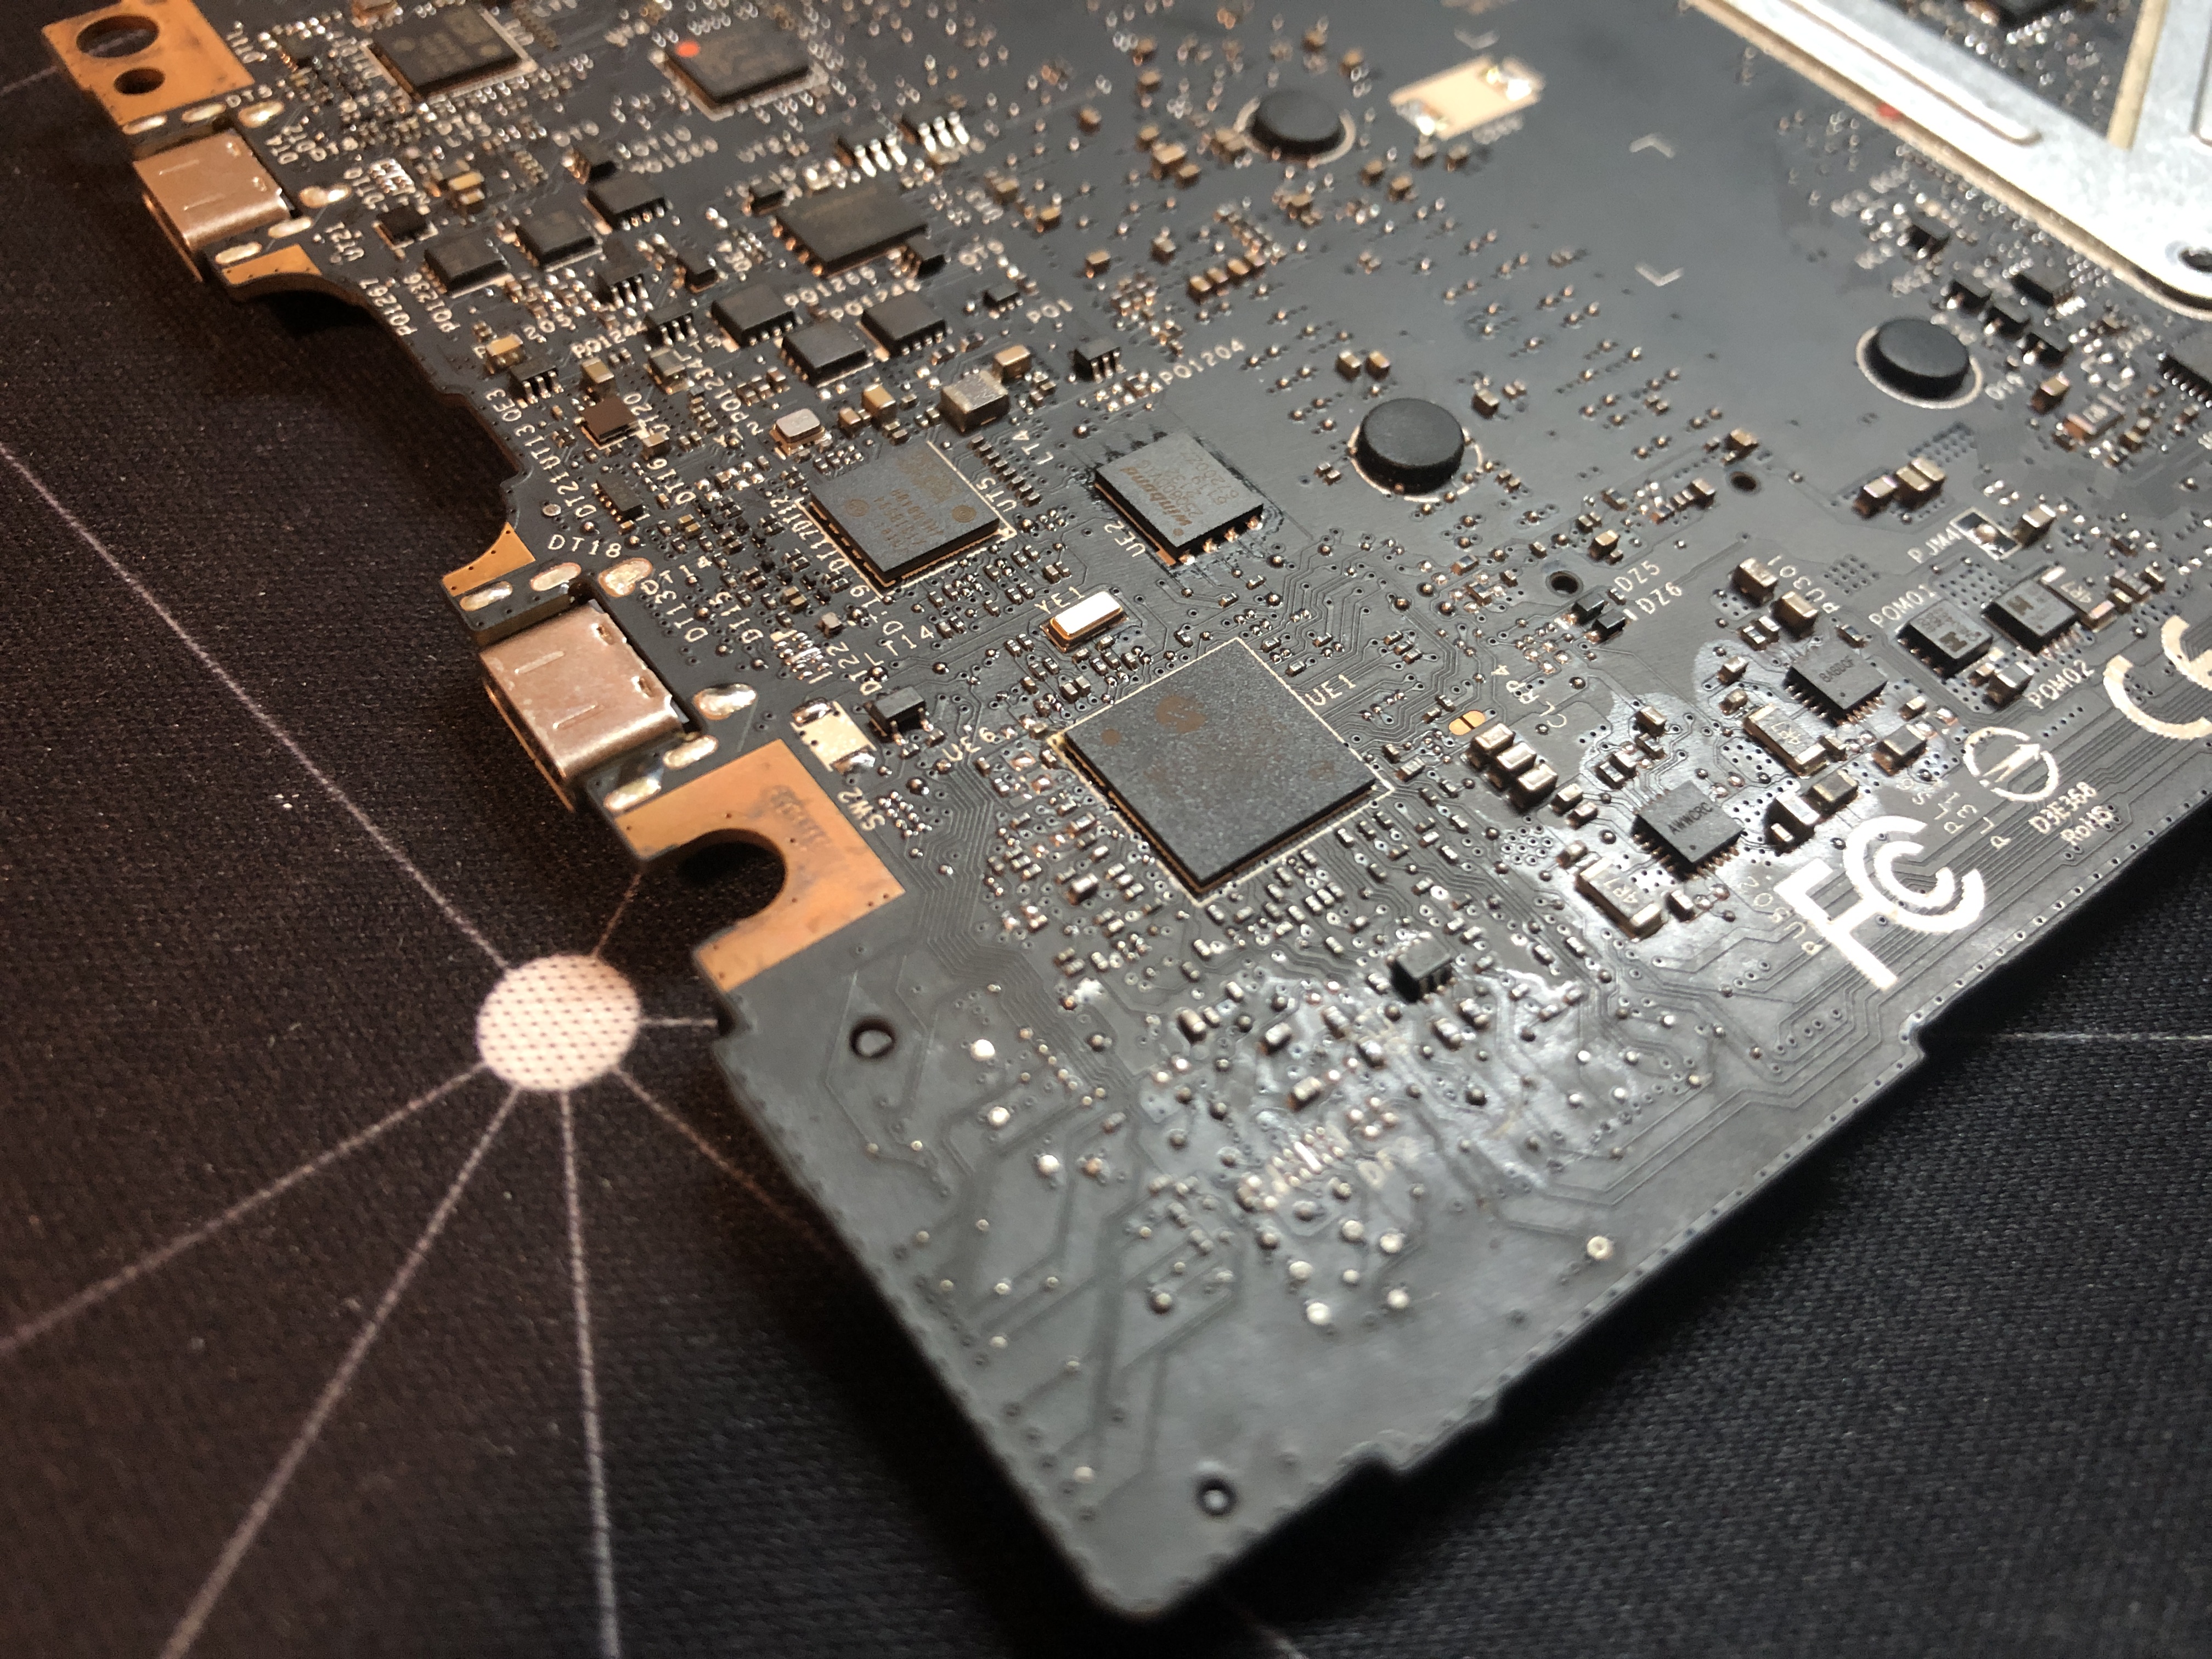
I wanted to closely inspect it for any damage before powering it on. Lucky (or unlucky) for me, I easily found the culprit - a large solder blob sitting next to a microcontroller!
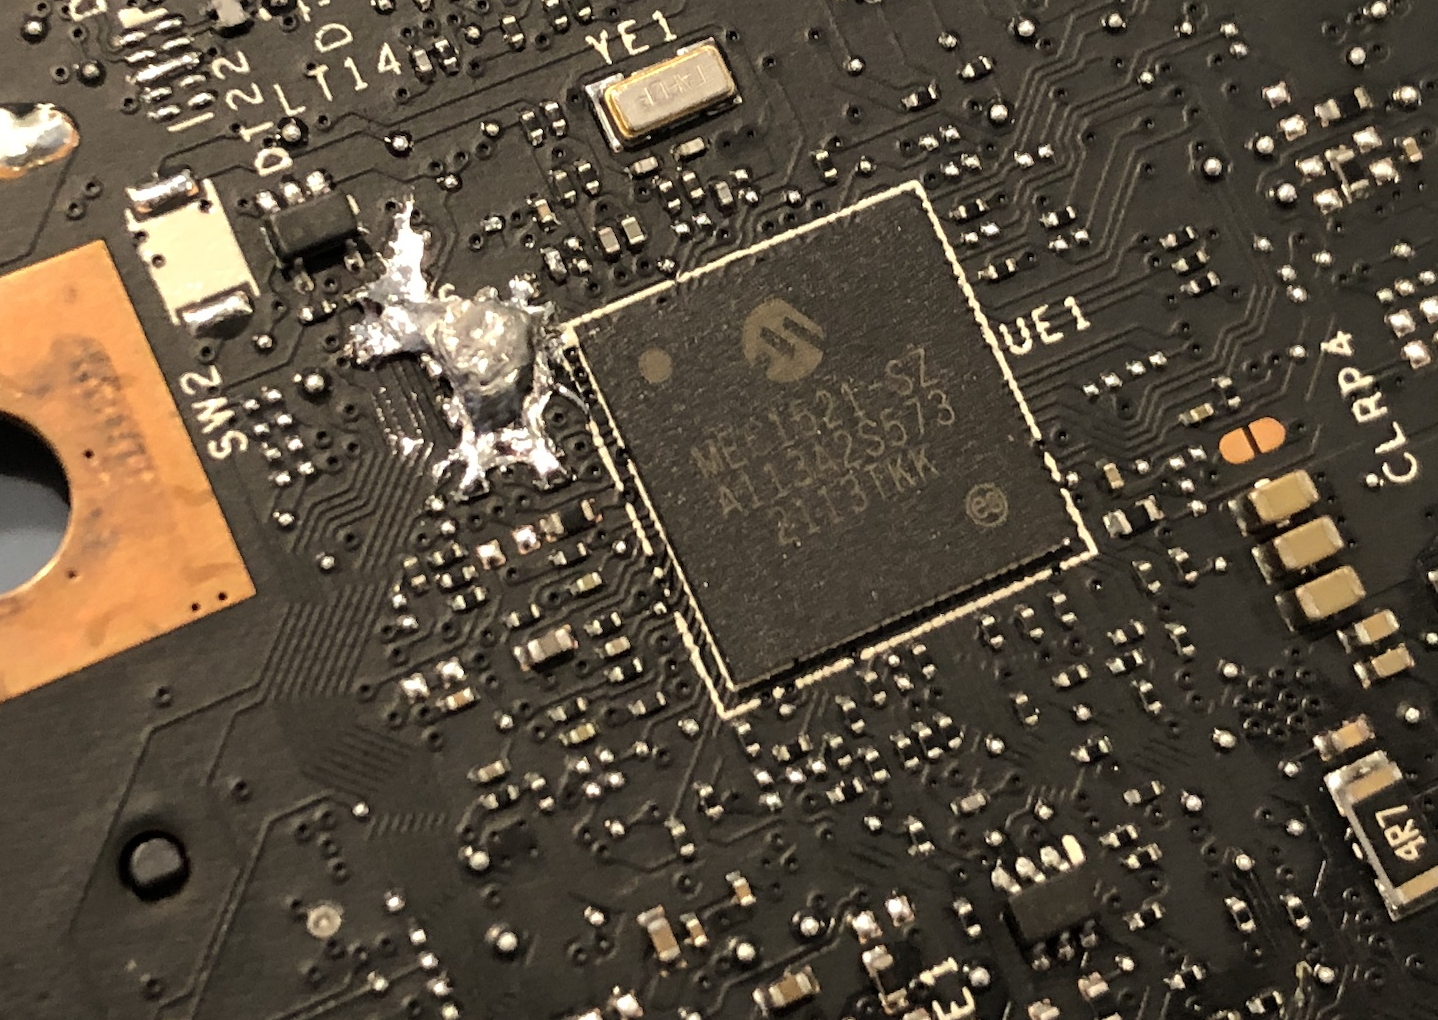
Seeing this, I wanted to refrain from powering the board on because I didn’t know what this was connected to. Again, since Framework is focused on repairability and openness, it was trivial to find schematics, where this MEC1521 chip appeared to handle various things and communicate it to the PCH on the CPU.
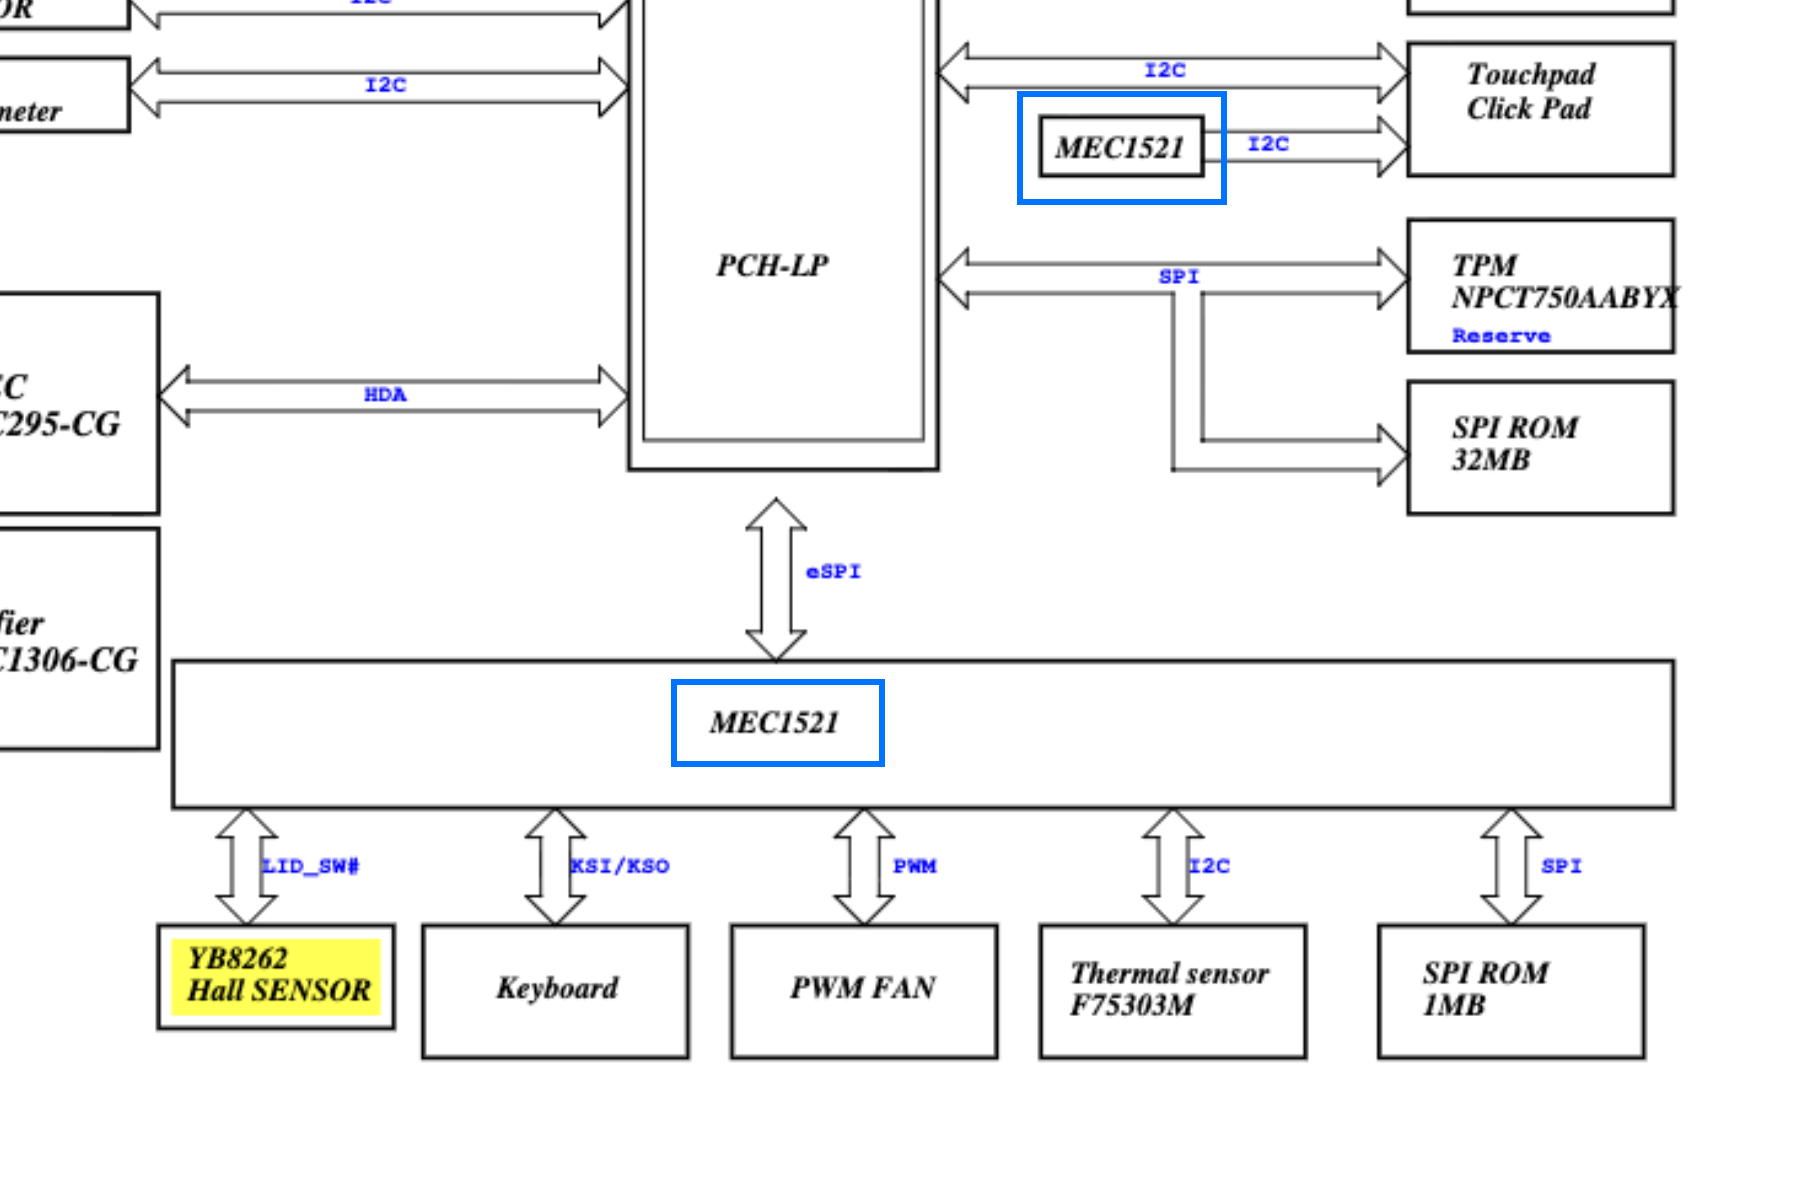
I’m not great at reading schematics so I honestly don’t know which MEC1521 I’m looking at, but this was enough for me to prioritize removing the solder first. :)
A successful repair
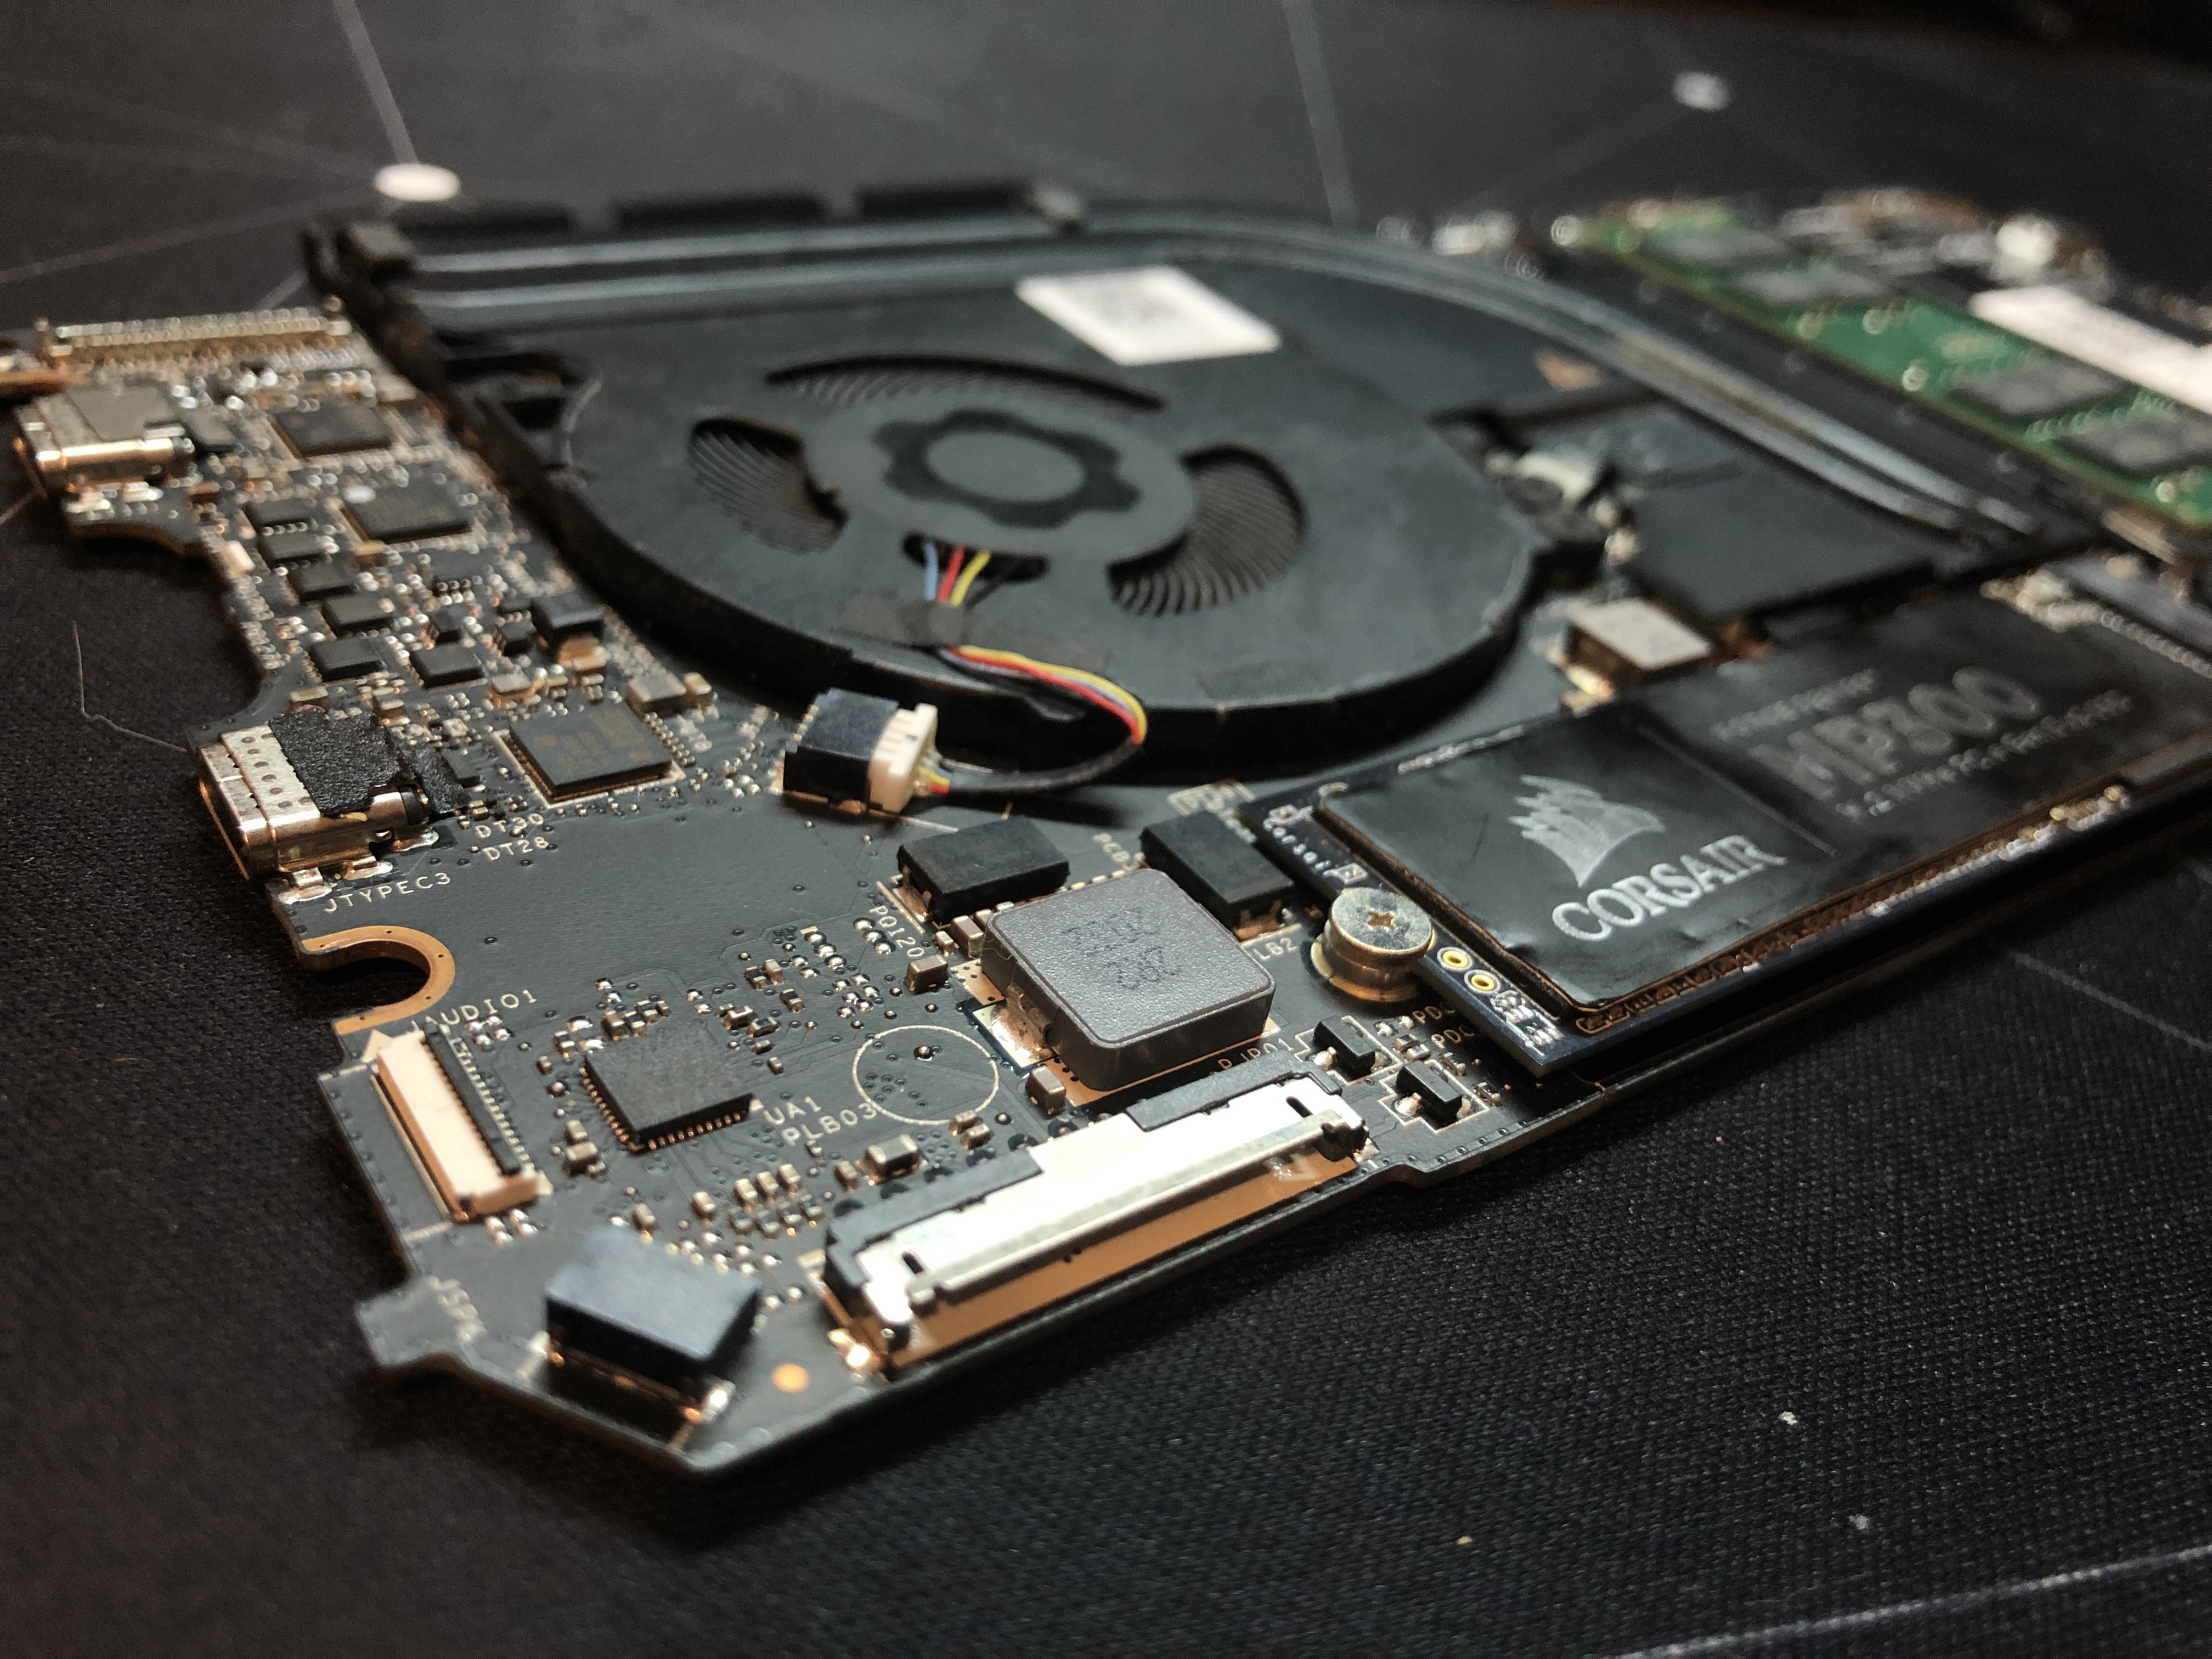
The removal process was stupid easy. I put a larger tip on my iron, set it to 450 C, put some flux on the blob, and let the iron suck up the solder. It appeared to have a much lower melting temperature than the surface-mount components, as it instantly came off, meaning nothing was shifted or removed in the slightest. The whole process took about 3 minutes, and things looked good!
After ensuring no residual solder was present, I went to power it on and it worked! I pulled some DDR4 SODIMM memory out of my NAS, threw in a random NVME drive, and it POSTed no problem. Both DIMM slots, the NVME slot works, and all USB-C ports seem to be fully functional.
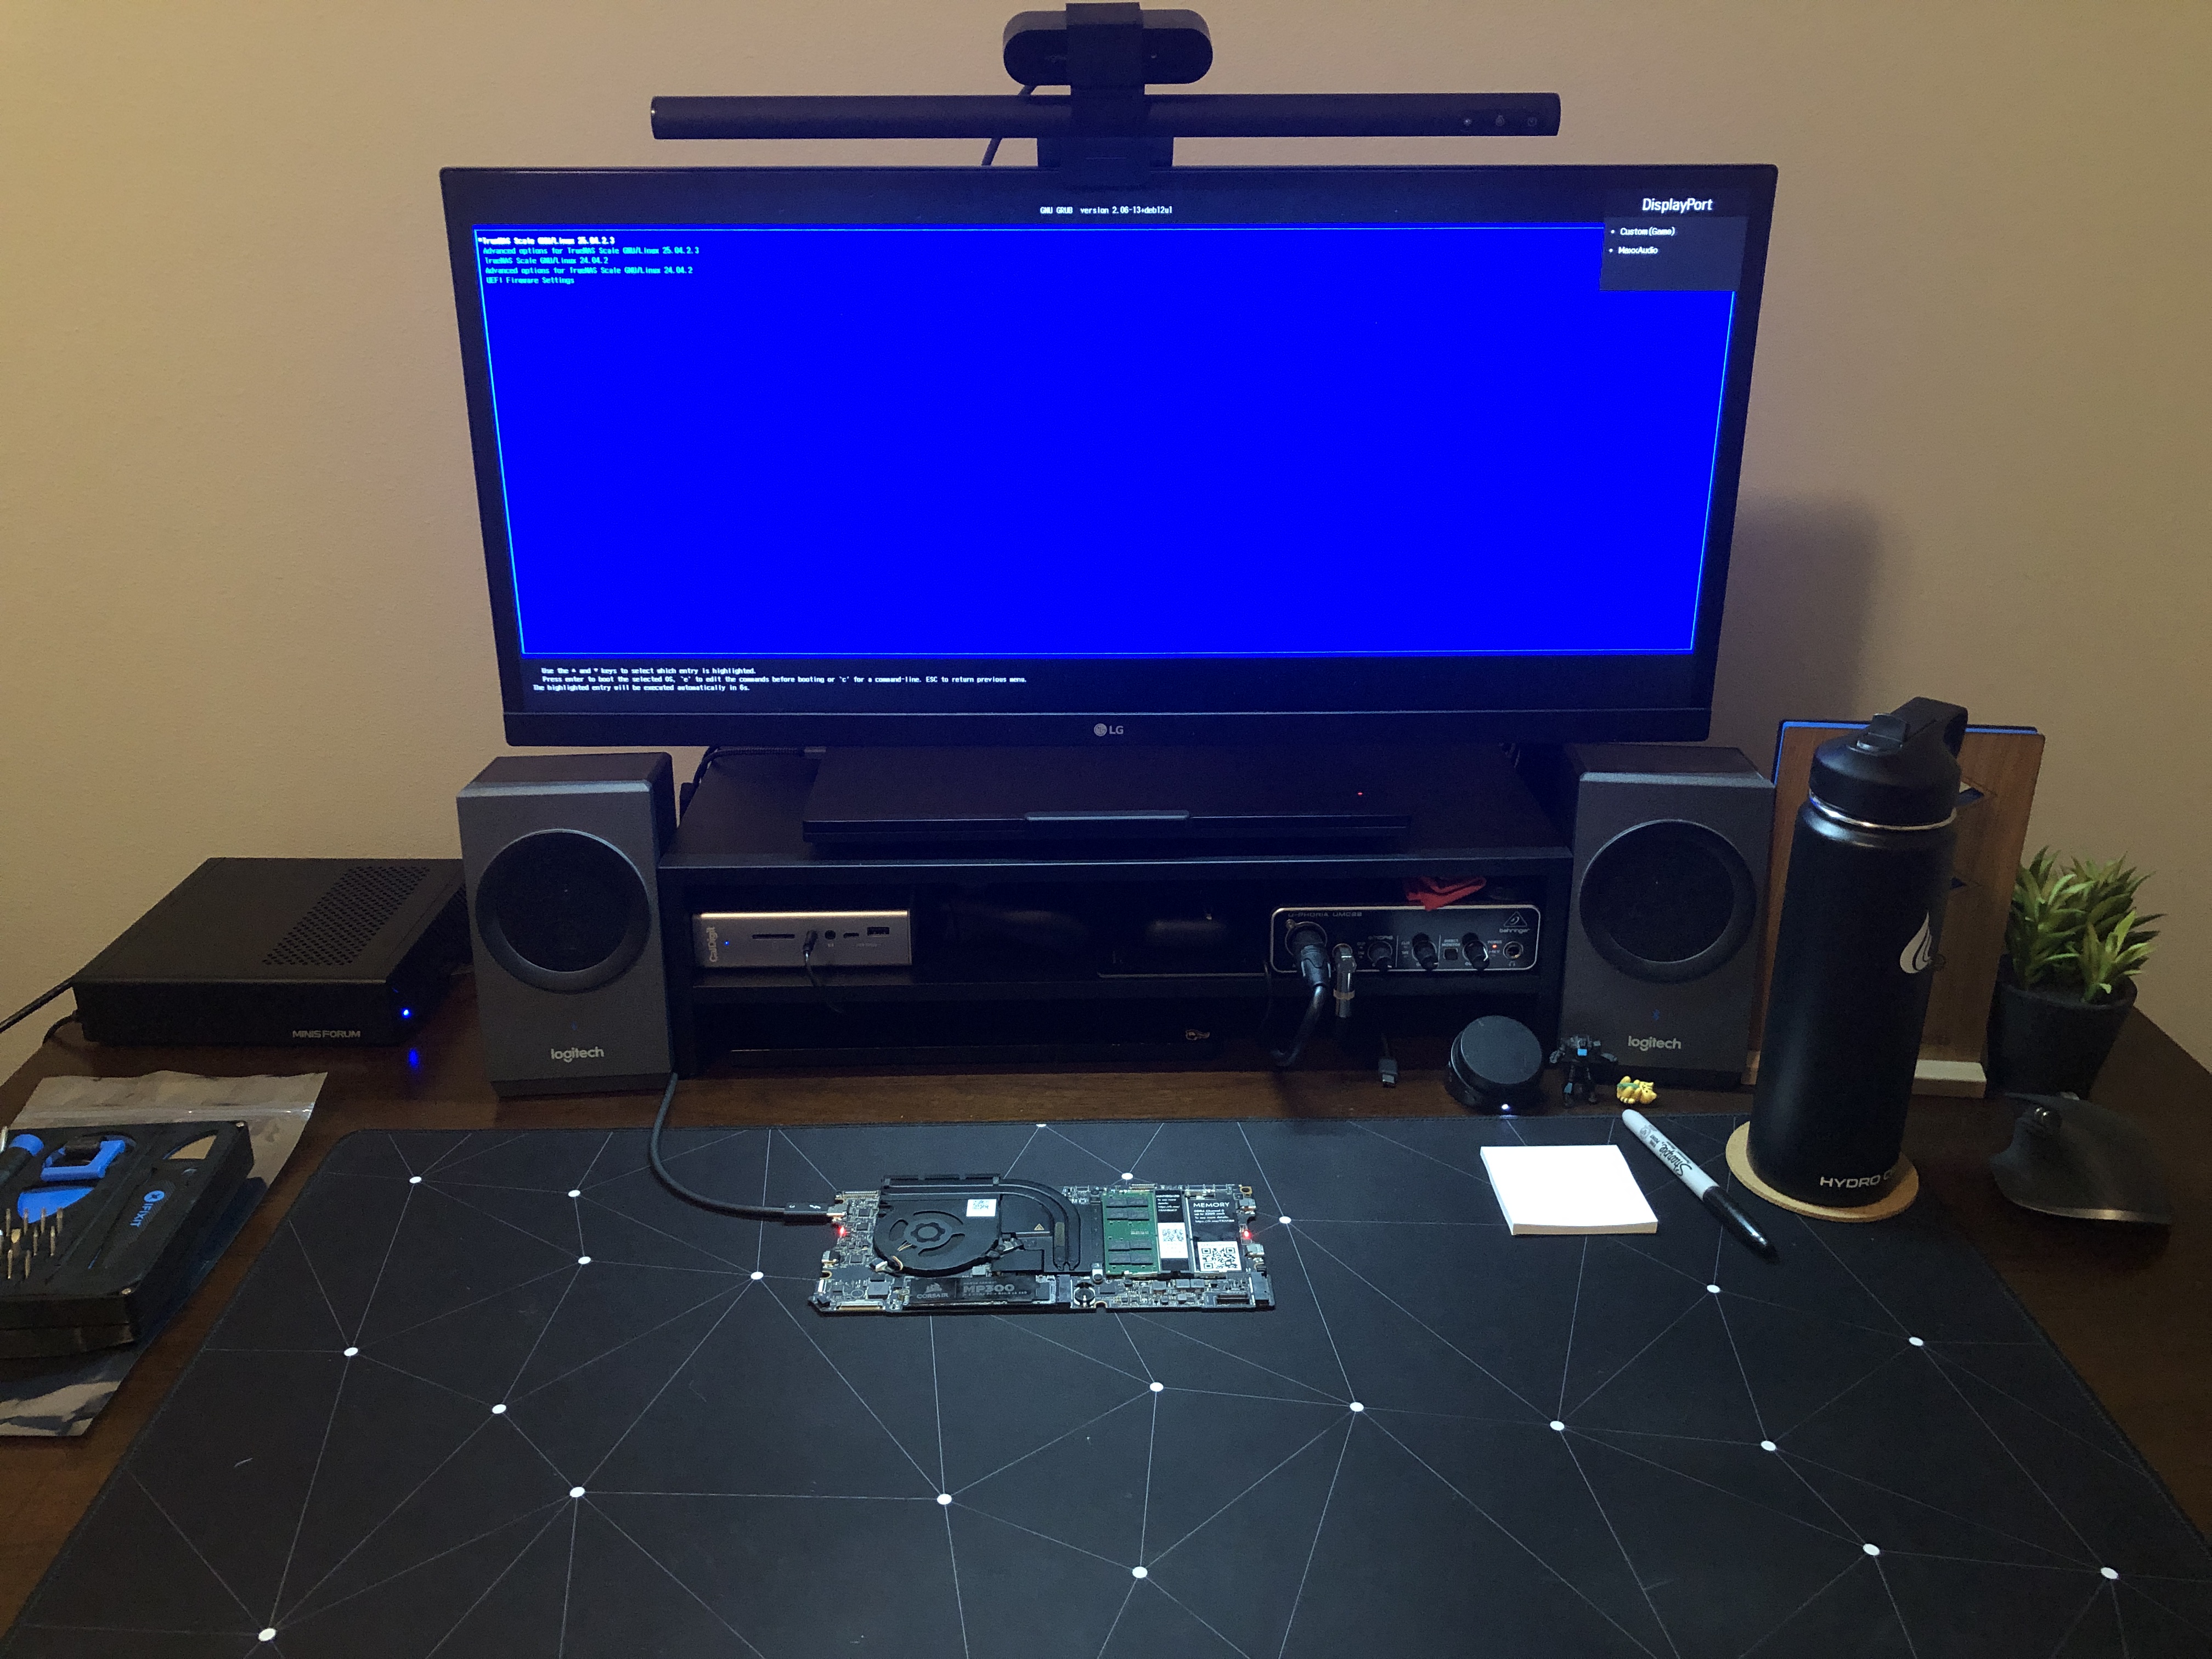
After getting into the BIOS, this mainboard has the Intel i5-1135G7, which is the same CPU I had in my first Framework laptop. Neat!
What next?
I know I want to explore 3D printing custom motherboard cases. I had previously watched a Hardware Haven video where he modified a case to exclude the modules which is exactly what I need. I don’t currently own a 3D printer, but fully intend on getting one soon. :)
In terms of usability, I’m not entirely sure what I’ll use this for yet, but I do have a few ideas:
- Windows/Bazzite gaming PC + Moonlight client!
- Mobile homelab with integrated wireless networking!
- Proxmox server for friends and family!
- Test bench for random stuff!
As a previous Framework laptop owner, I love this company and fully support their vision, despite no longer daily driving their hardware. I want to support them wherever possible, and I’m very likely to pick up another mystery box when they come back in stock. I may not be as lucky in the future, but it will still be good, cheap fun. :)
References
- https://frame.work/products/framework-mystery-boxes?v=FRANHR0005&variation=&utm_campaign=Back-in-stock_1+%28Szm3y8%29&utm_medium=email&utm_source=Back+in+Stock
- https://github.com/FrameworkComputer/Framework-Laptop-13
- https://github.com/FrameworkComputer/Framework-Laptop-13/blob/main/Mainboard/Mainboard_Interfaces_Schematic_11th_Gen.pdf
- https://www.youtube.com/watch?v=mAYKlKyv6tI
- https://www.printables.com/model/1412113-compact-framework-industrial-mainboard-case/files
- https://www.youtube.com/watch?v=lCO31iiZtHQ